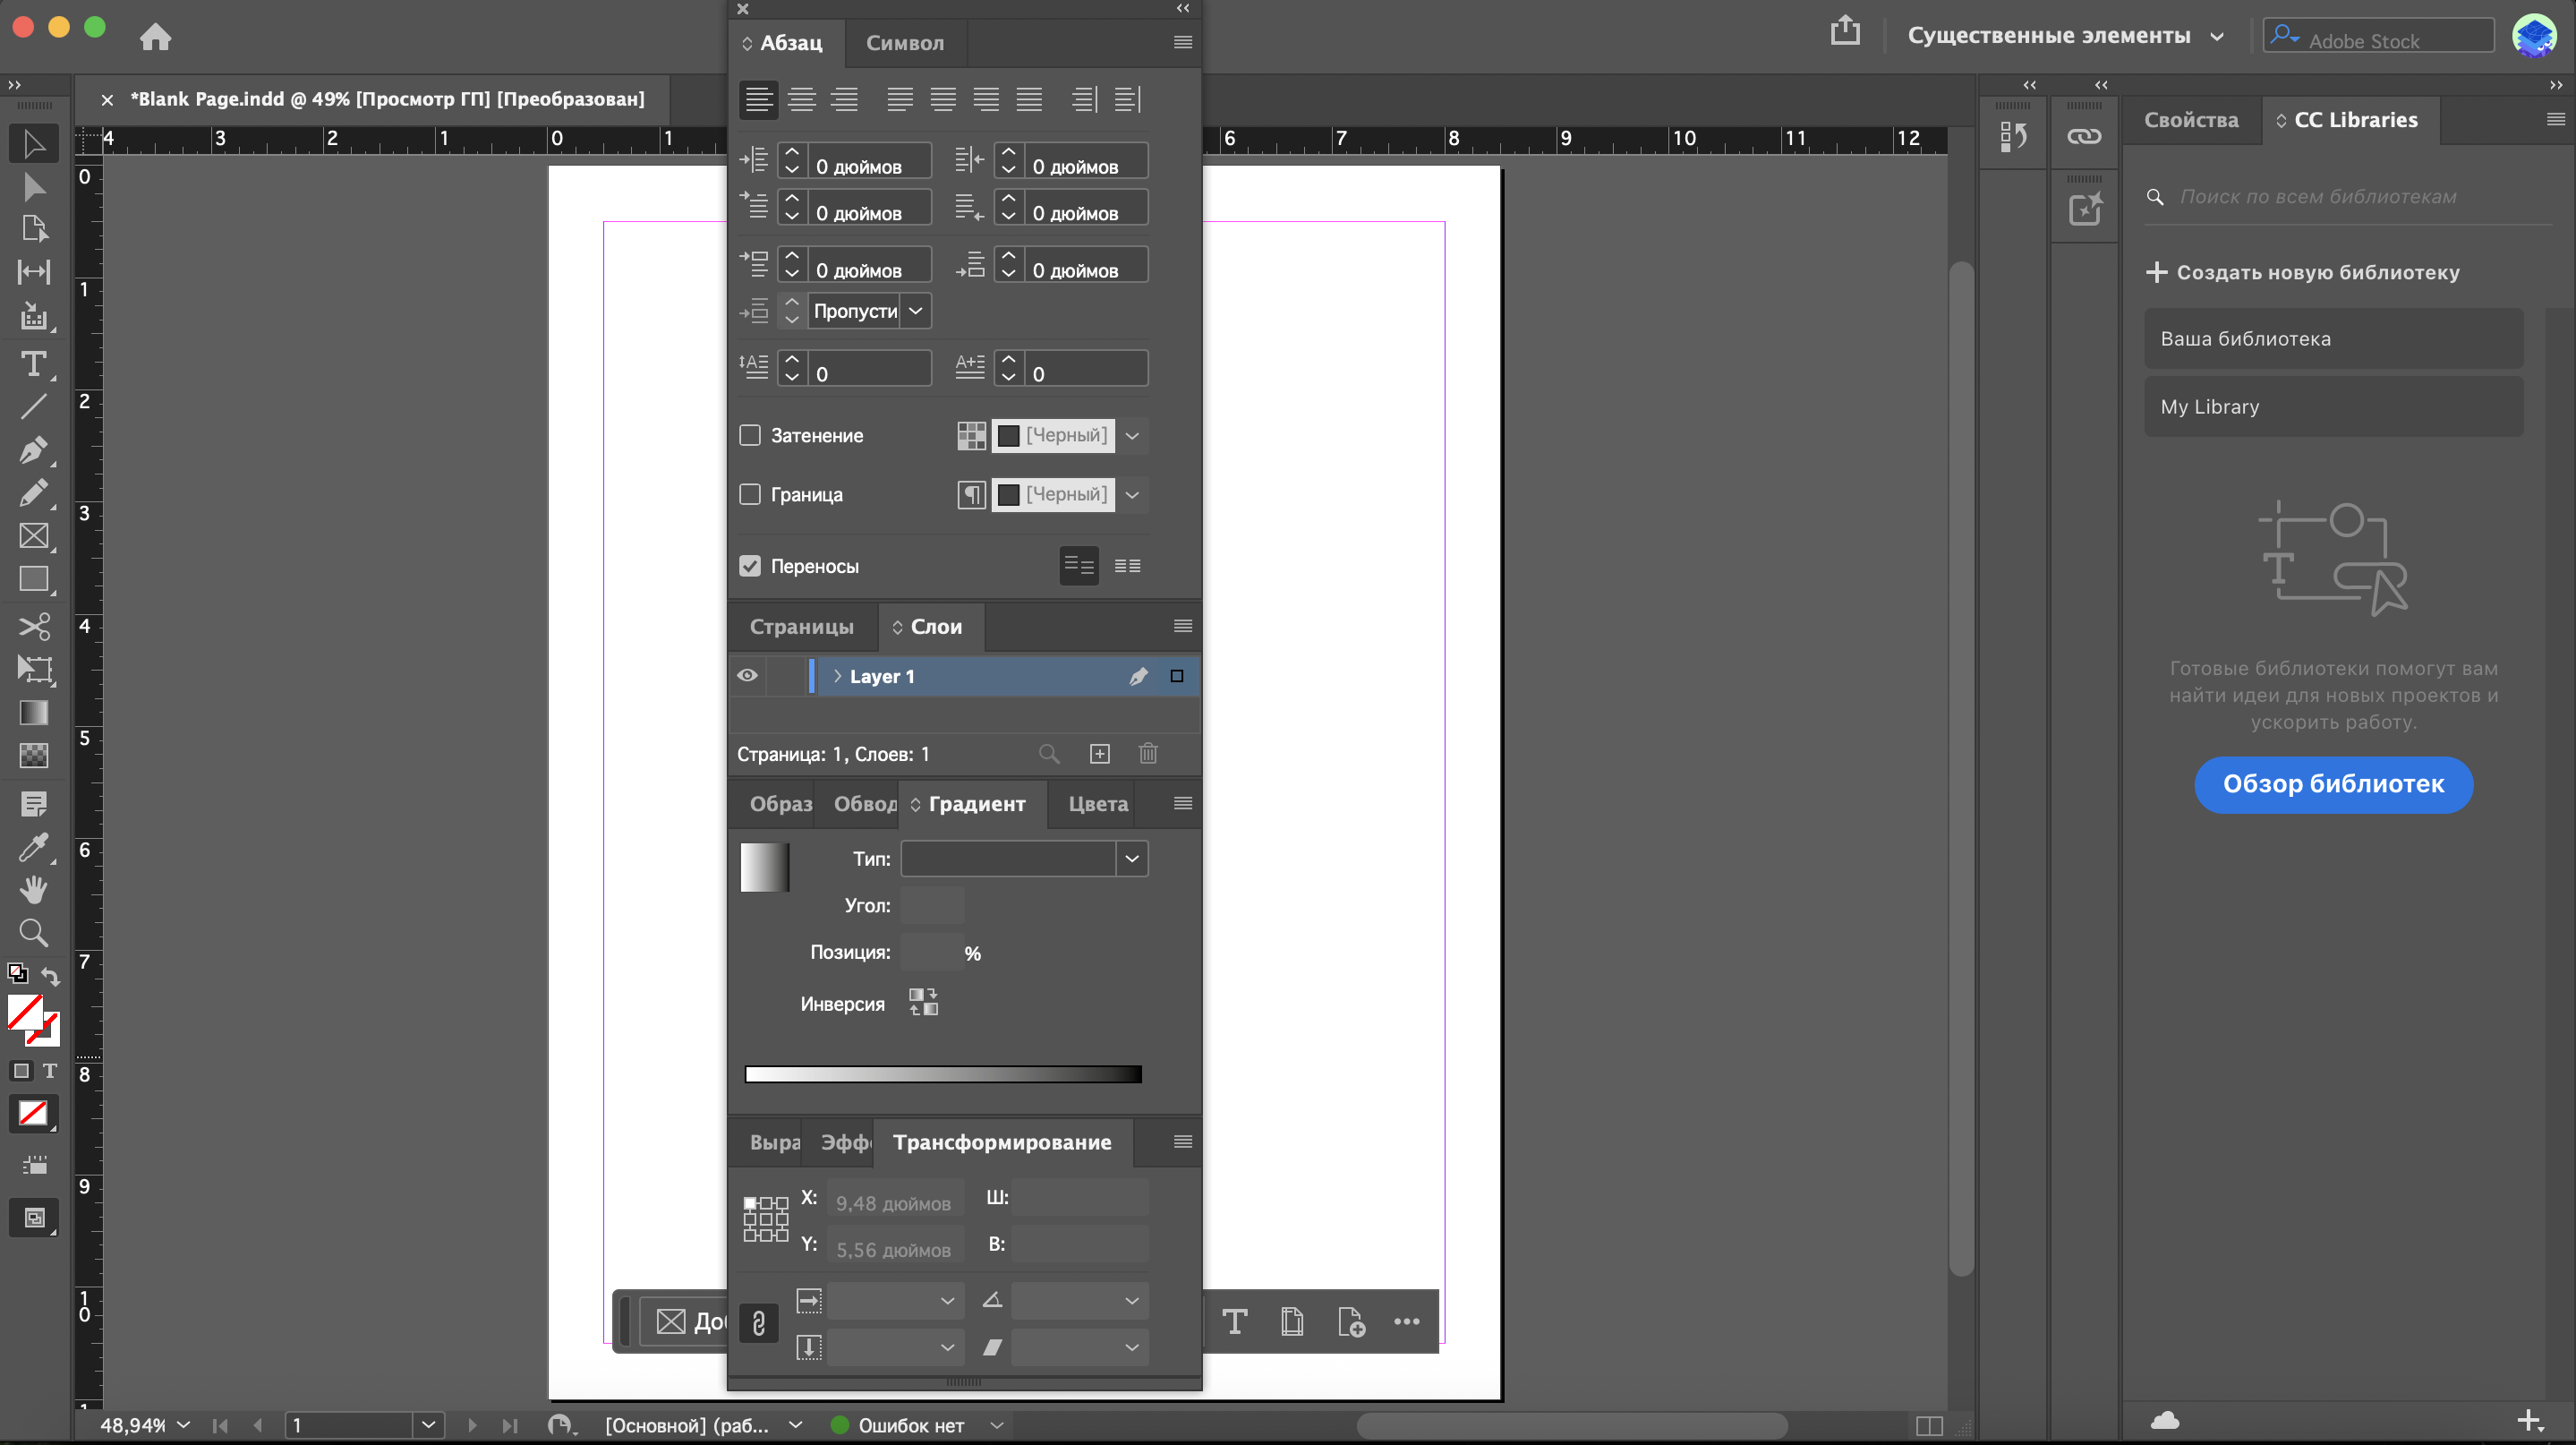
In Project Builder 1, I grouped and docked the required panels in Adobe InDesign. My InDesign interface is currently displayed in Russian. Although the panel names appear in Russian in the screenshot, I followed the English textbook instructions and used the corresponding Paragraph, Character, Pages, Layers, Swatches, Stroke, Gradient, Color, Align, Effects, and Transform panels.
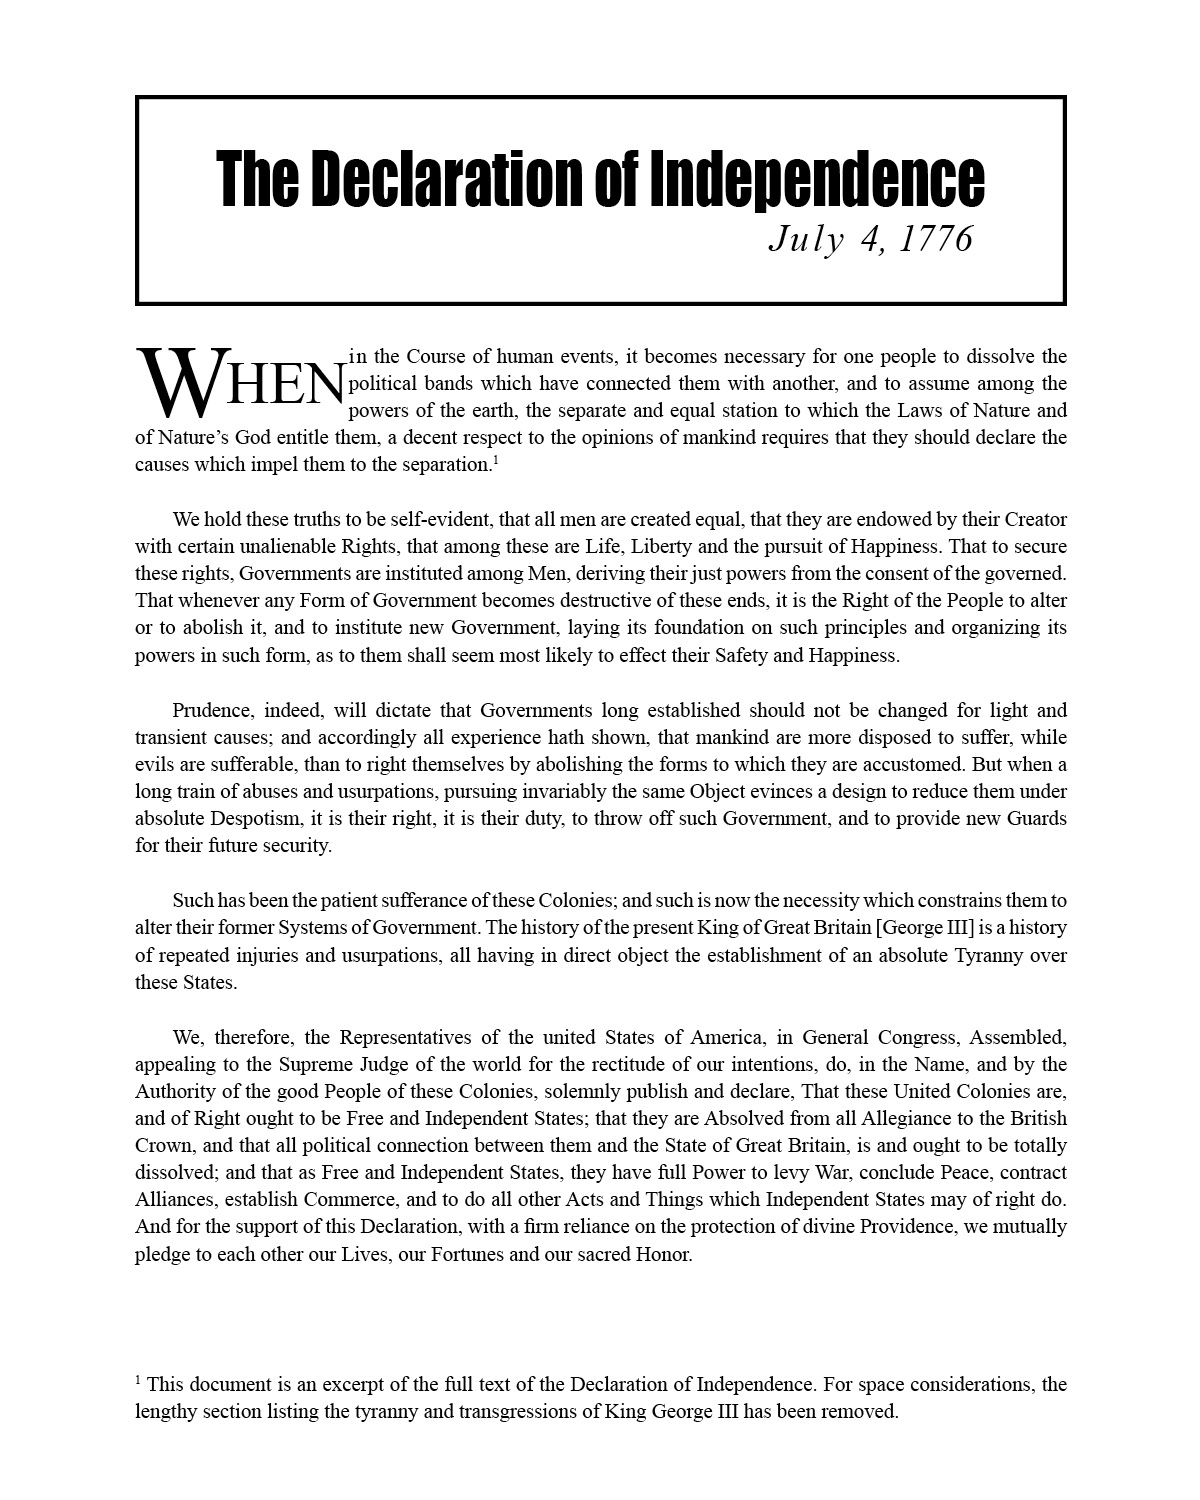
In Chapter 2 Project Builder 1, I modified the first word of a paragraph to create a more prominent drop cap. I used character formatting, superscript, baseline shift, and kerning to format the word WHEN.

In Chapter 3 Project Builder 1, I created a text frame on the A-Master page and added an automatic current page number between two em dashes. I formatted the page number at 20 points, centered it, applied the dark blue color, and positioned the text frame at the bottom of the center column.
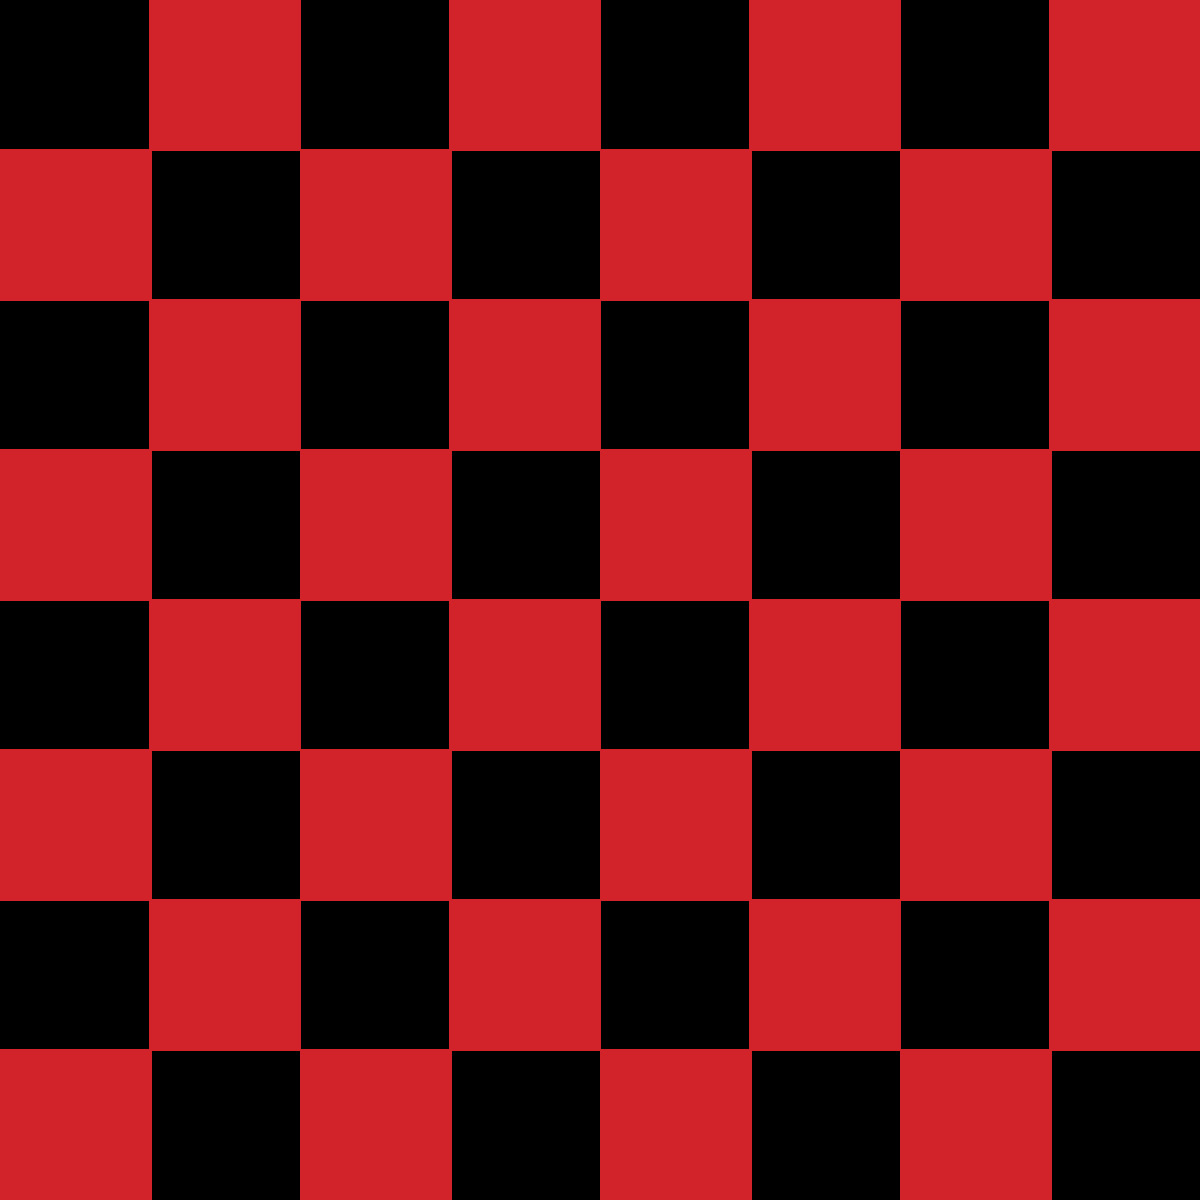
In Chapter 4 Project Builder 1, I created an 8-inch by 8-inch checkerboard using one-inch square frames. I applied black and Brick Red fill colors and removed the strokes. I then used the Step and Repeat command to duplicate and position the squares into eight rows and eight columns.
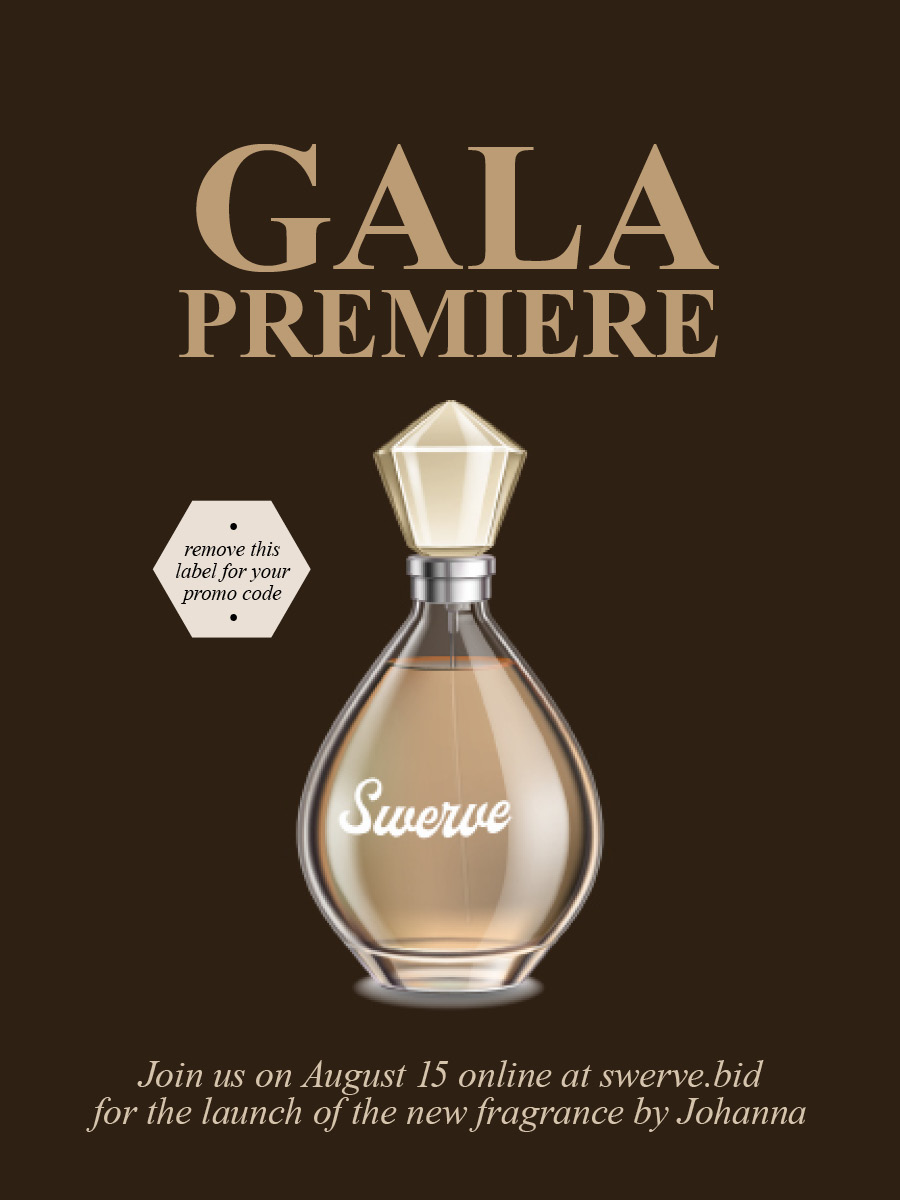
In Chapter 5 Project Builder 1, I sampled the color of the perfume bottle with the Eyedropper tool and created a named process-color swatch called Swerve Tan. I also created 60% and 30% tint swatches based on Swerve Tan and applied the new colors to the postcard text and promotional label.
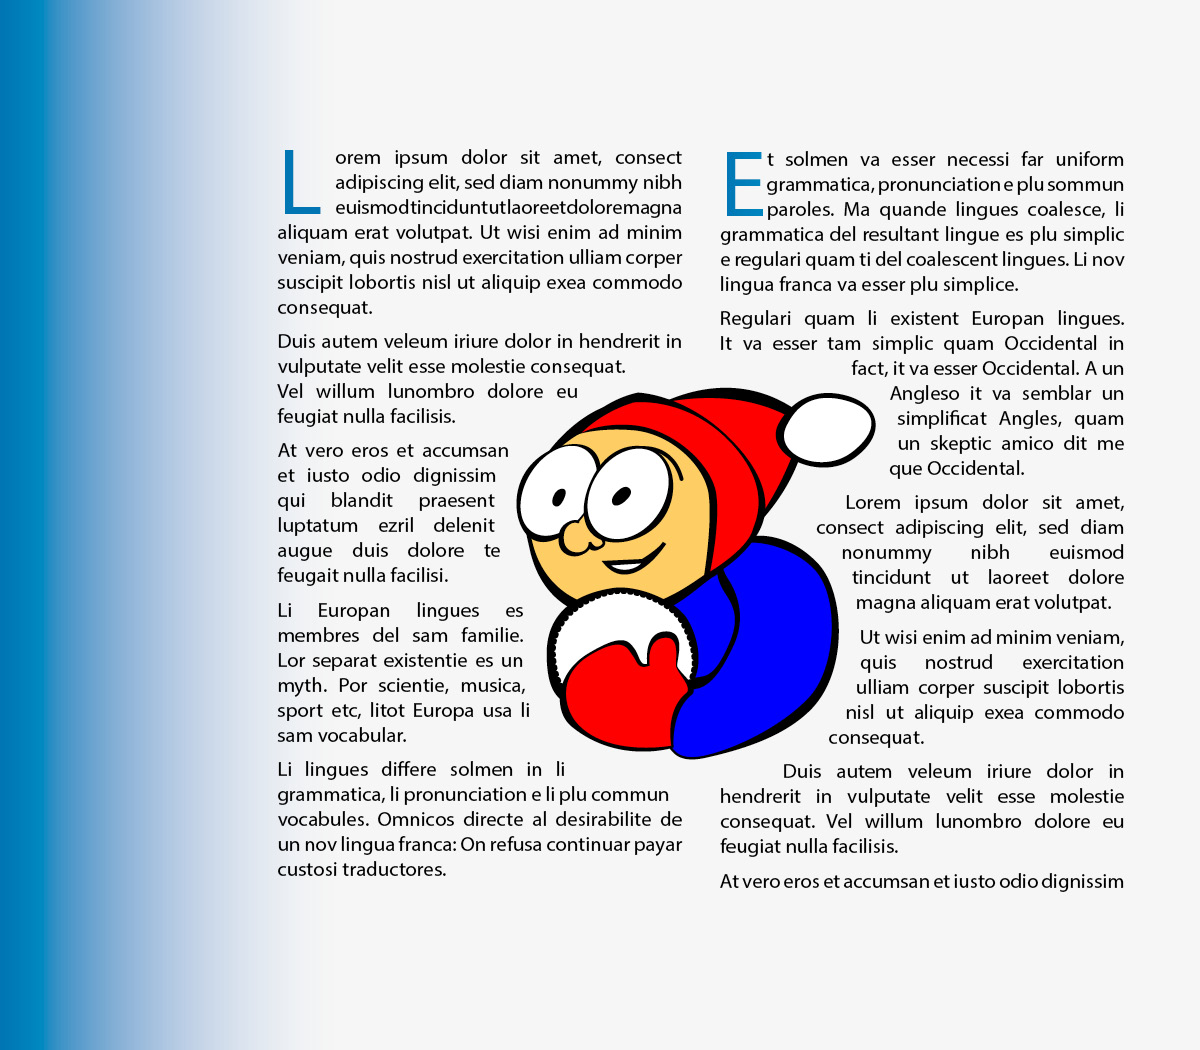
In Chapter 6 Project Builder 1, I placed the Snowball.ai vector graphic into the graphics frame and fit the content proportionally. I applied text wrapping around the object's shape, selected both the right and left sides, and used Detect Edges so that the text followed the shape of the graphic.
Note: The Garamond fonts used in the original document were not available on my computer. InDesign substituted another font, which slightly changed the text flow. The graphic placement and text-wrap settings were completed as instructed.
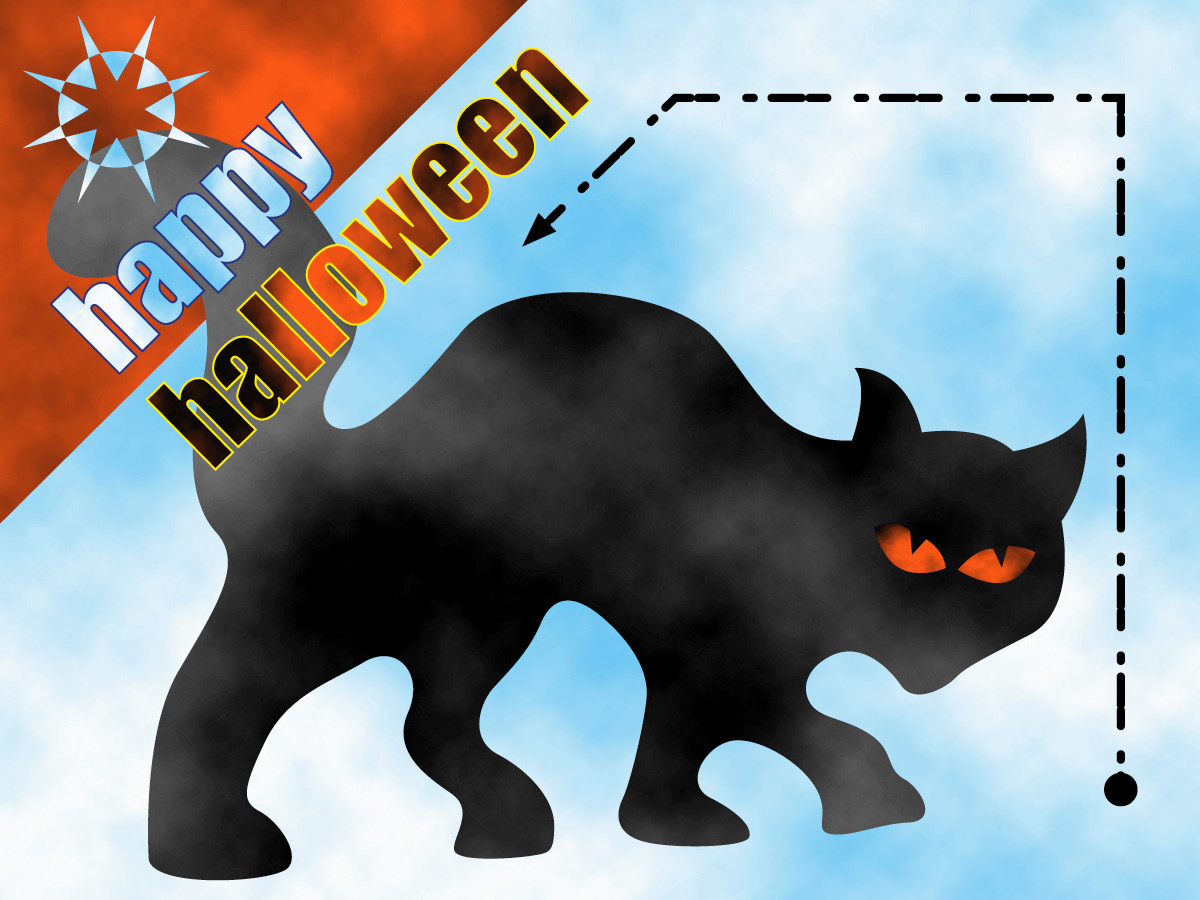
In Chapter 7 Project Builder 1, I placed the Gray Clouds.tif image inside the cat frame to add texture to the cat. I created compound paths using the cat and eye shapes, then positioned the colored circle behind the cat so that the color appeared through both eyes. This added texture to the cat while keeping the eyes visible.
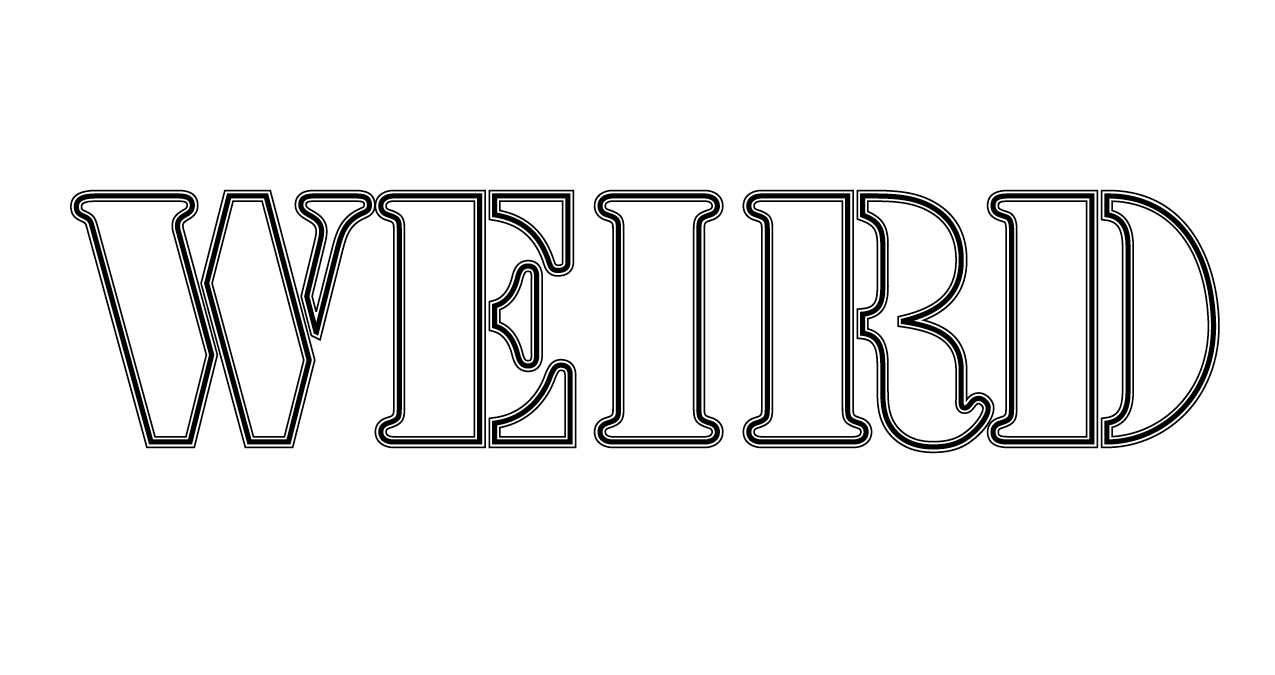
In Chapter 8 Project Builder 1, I created a custom striped stroke style named Vibe. I adjusted three stripes within the stroke pattern to create a 1970s-style effect. I removed the fill from the letters, applied a 6-point black stroke, and applied the Vibe stroke style to the word WEIRD.
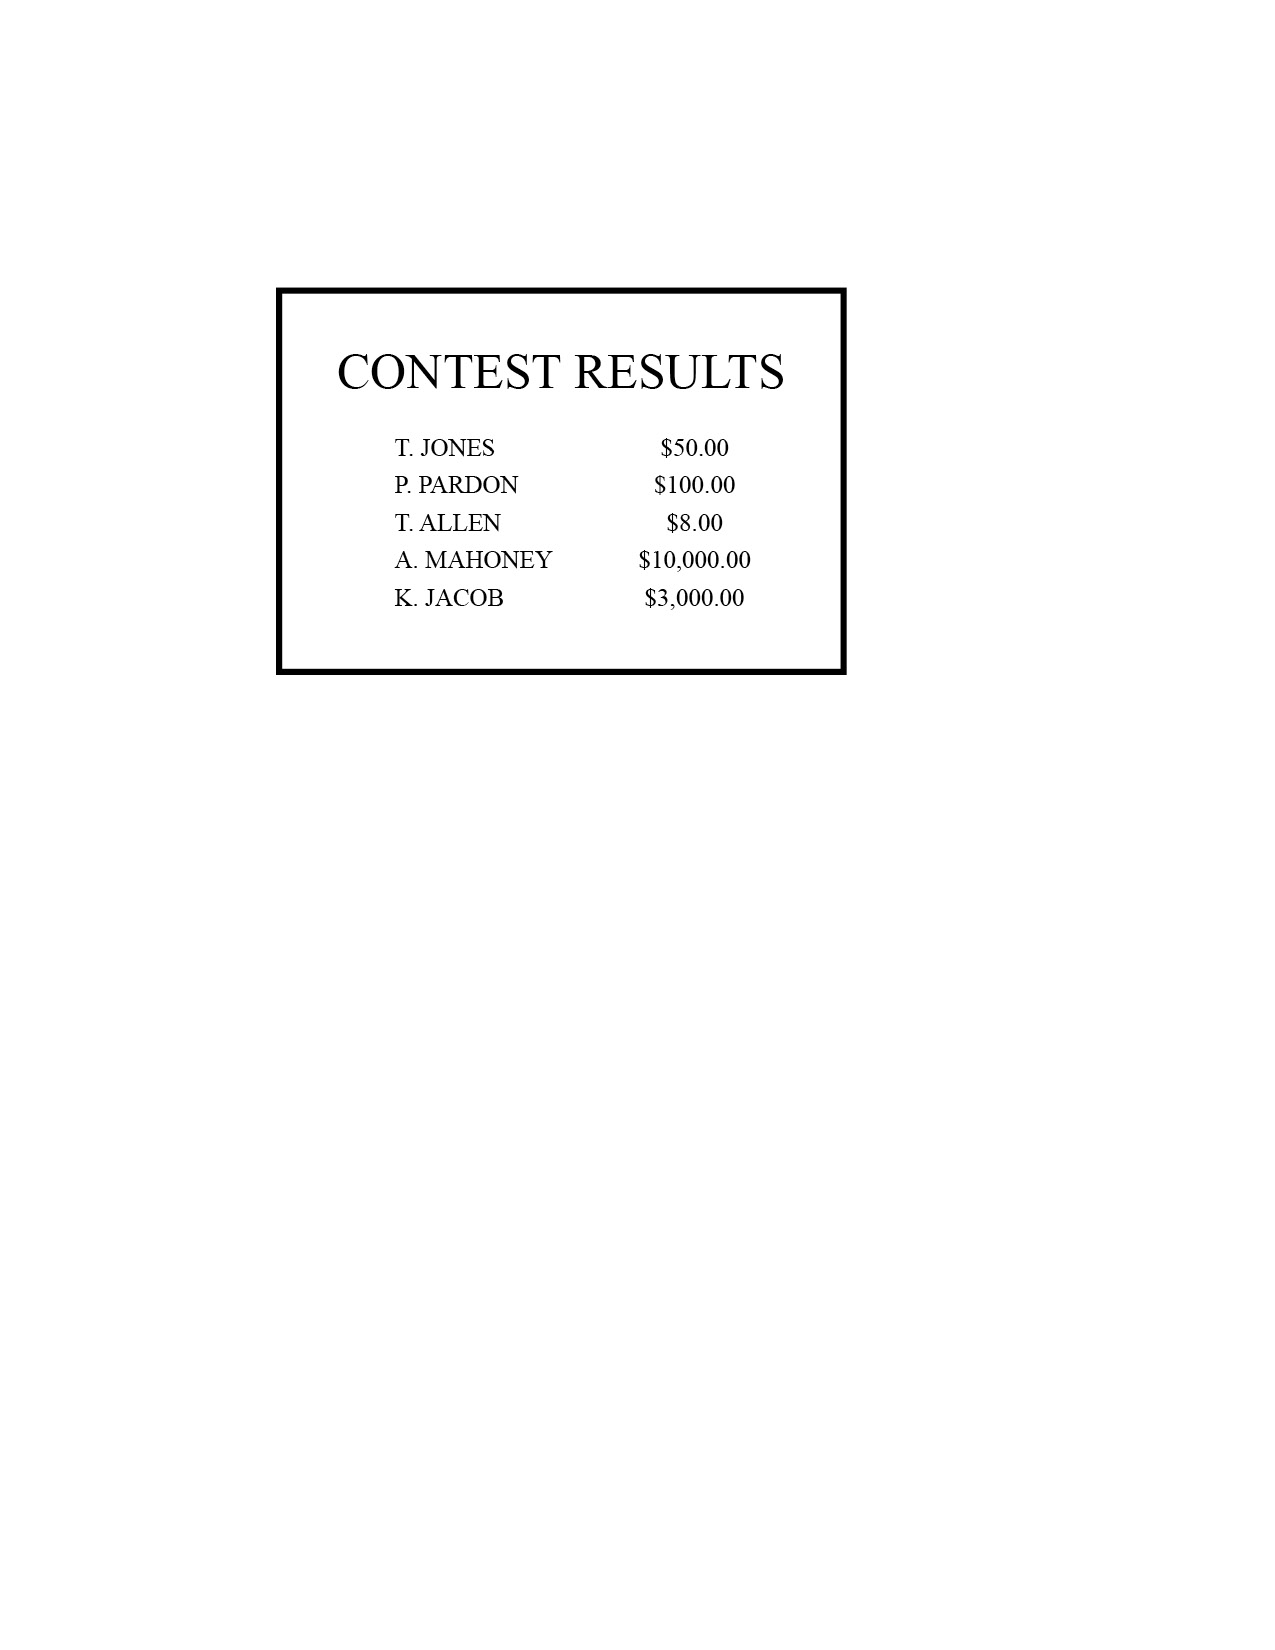
In Chapter 9 Project Builder 1, I centered the heading and adjusted the top inset of the text frame. I used left-justified and decimal-aligned tabs to organize the names and monetary values. The decimal points in all five monetary values are aligned consistently.