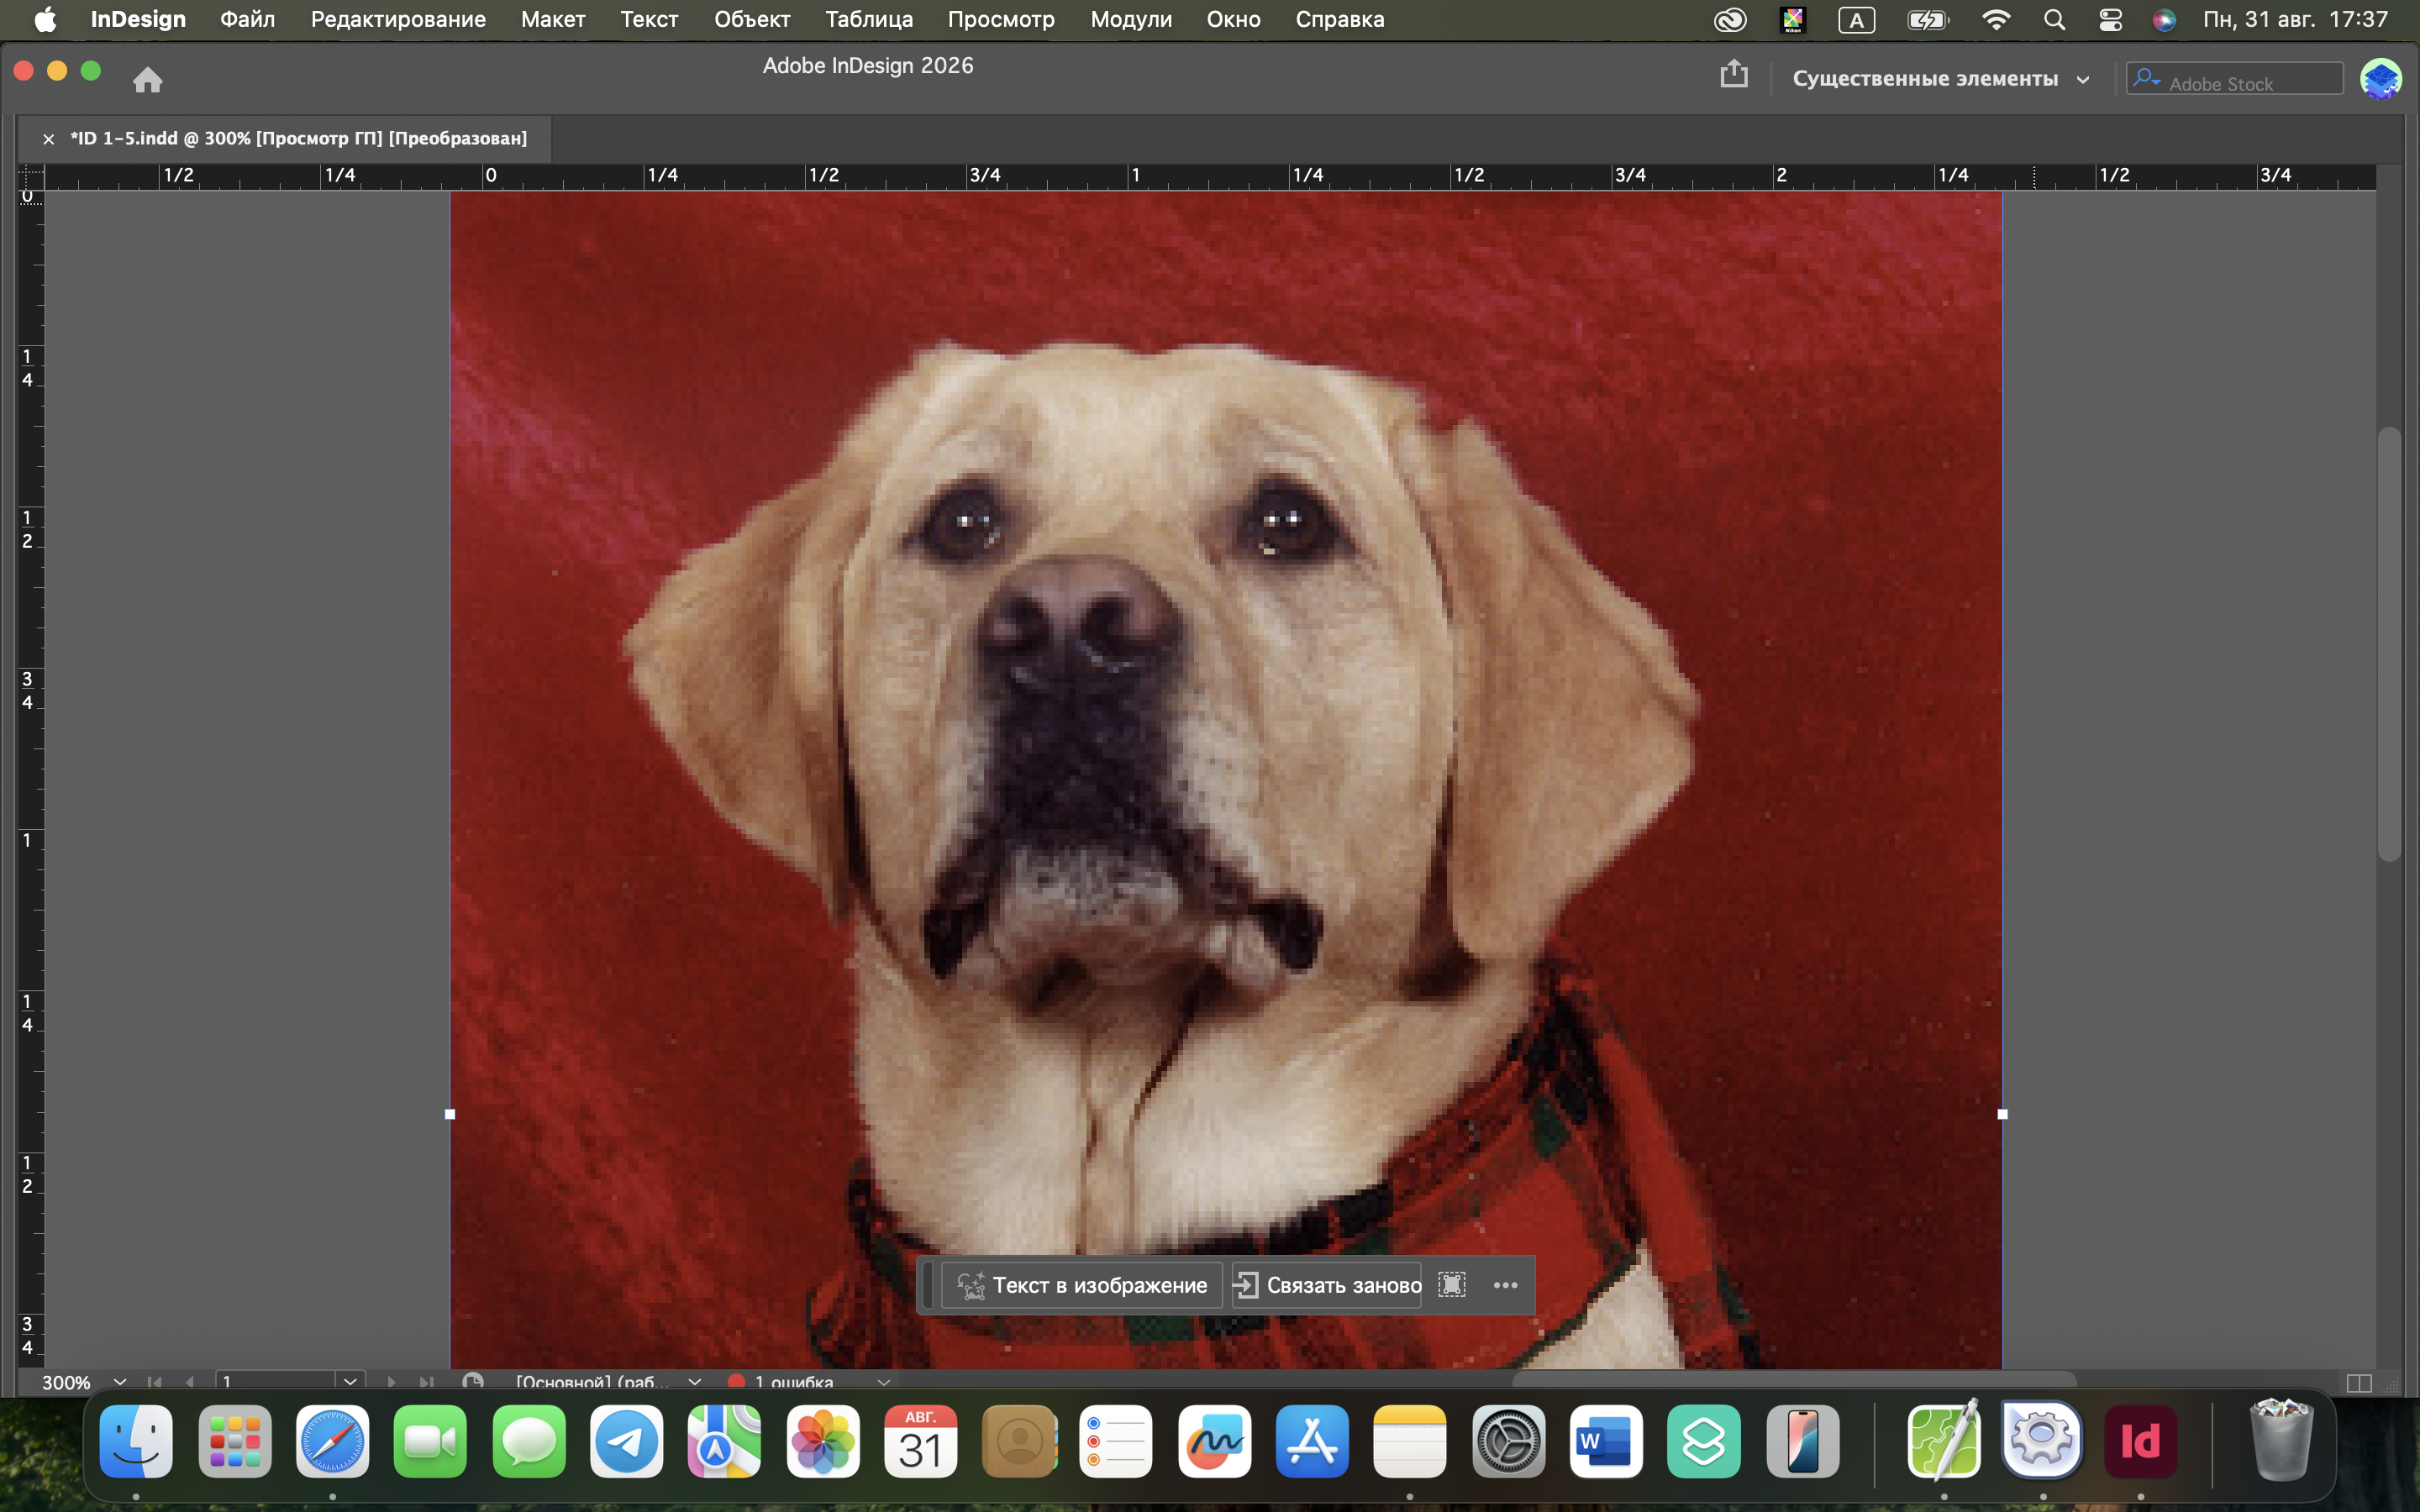
In Chapter 1 Project Builder 2, I practiced using the Zoom and Hand tools. I zoomed in on the dog's eye, moved the image to the other eye, zoomed out five times, and positioned the image so that both eyes and the dog's snout were visible.
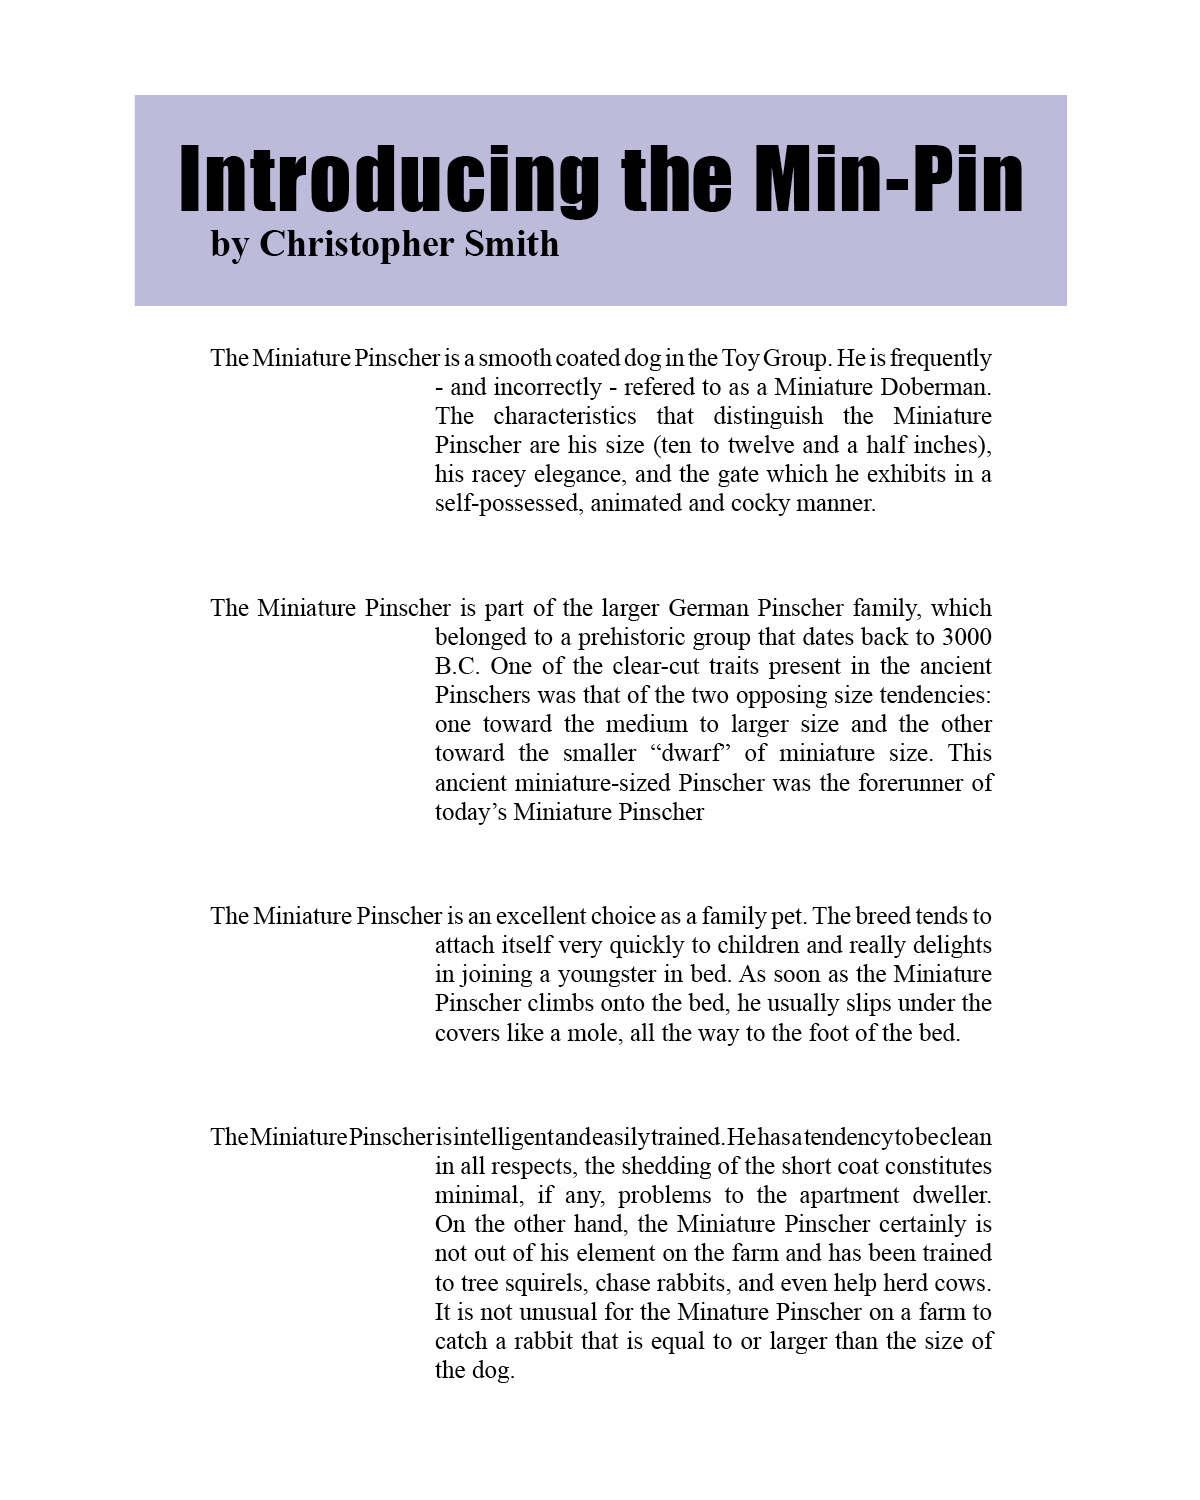
In Chapter 2 Project Builder 2, I reformatted four paragraphs using left and right indents, paragraph spacing, and negative first-line indents. The hanging indents create space where small pictures can be placed beside each paragraph.
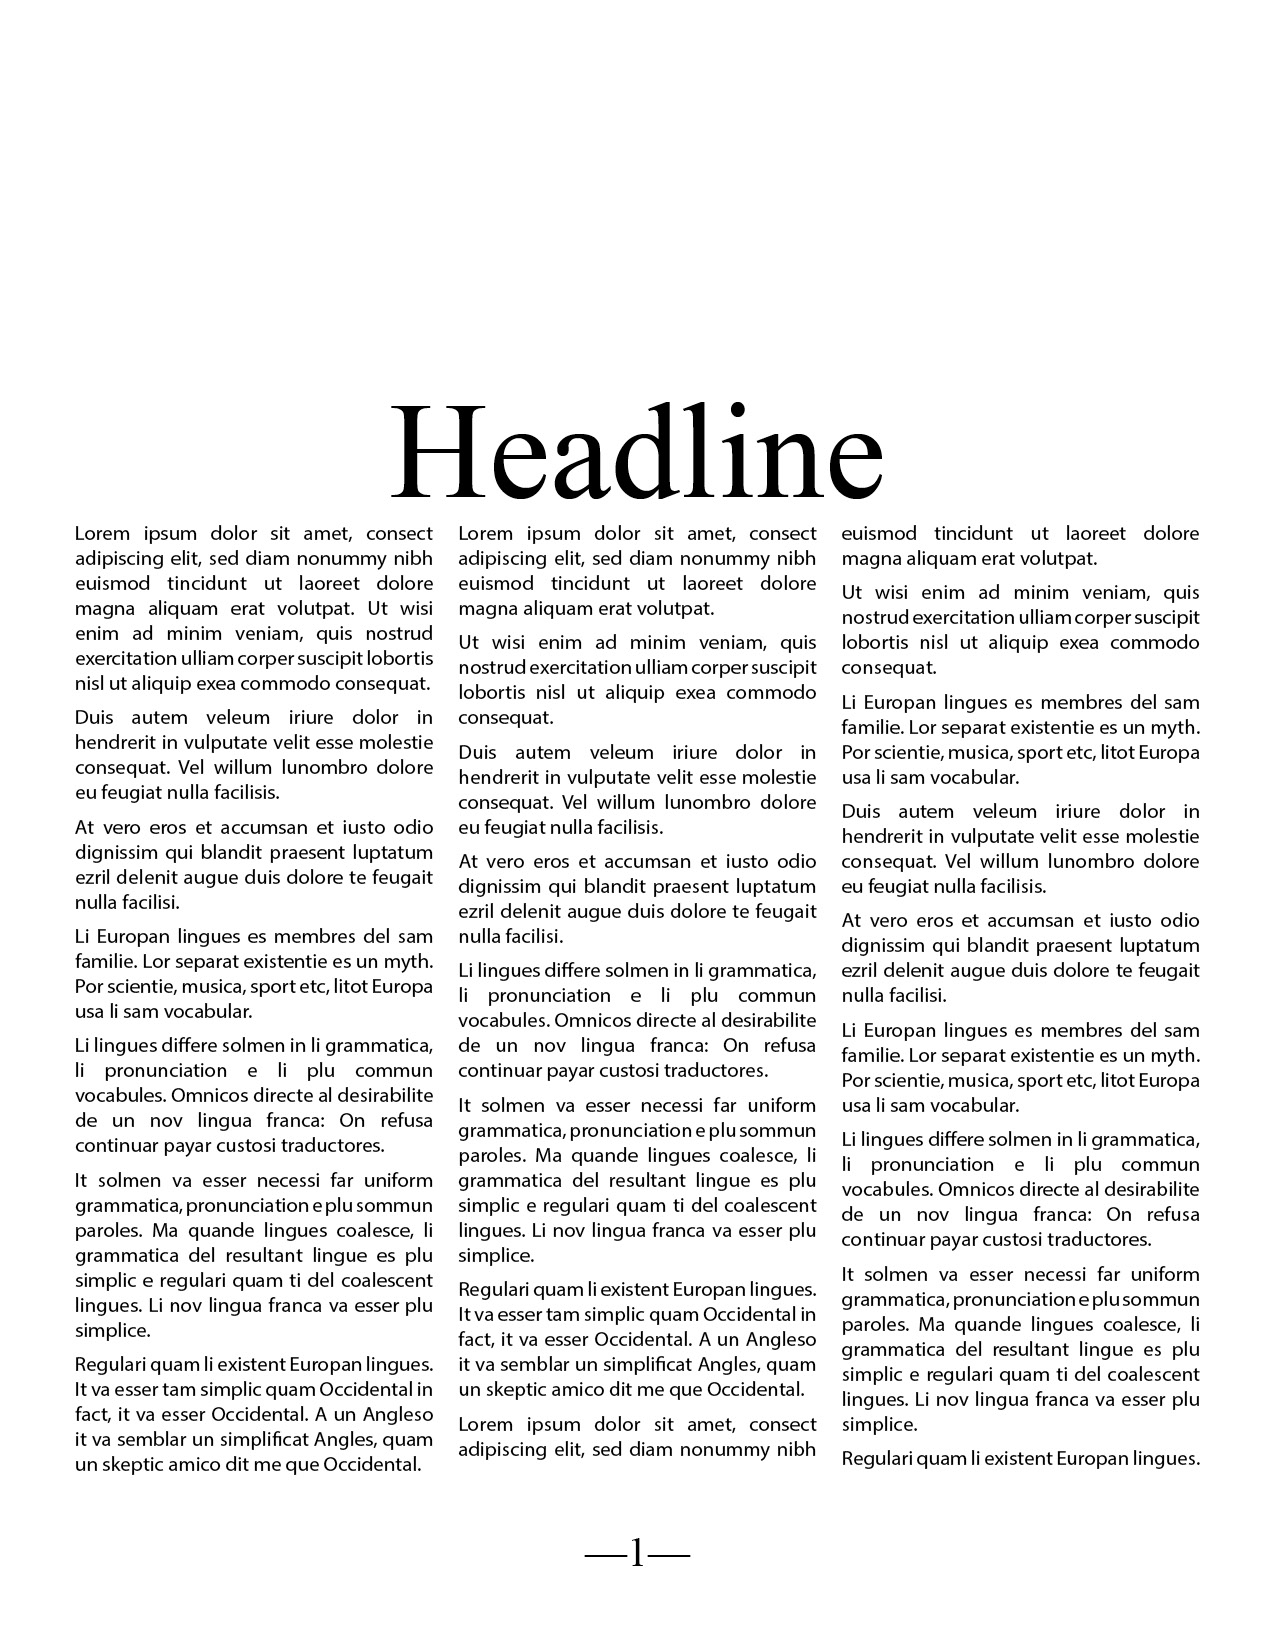
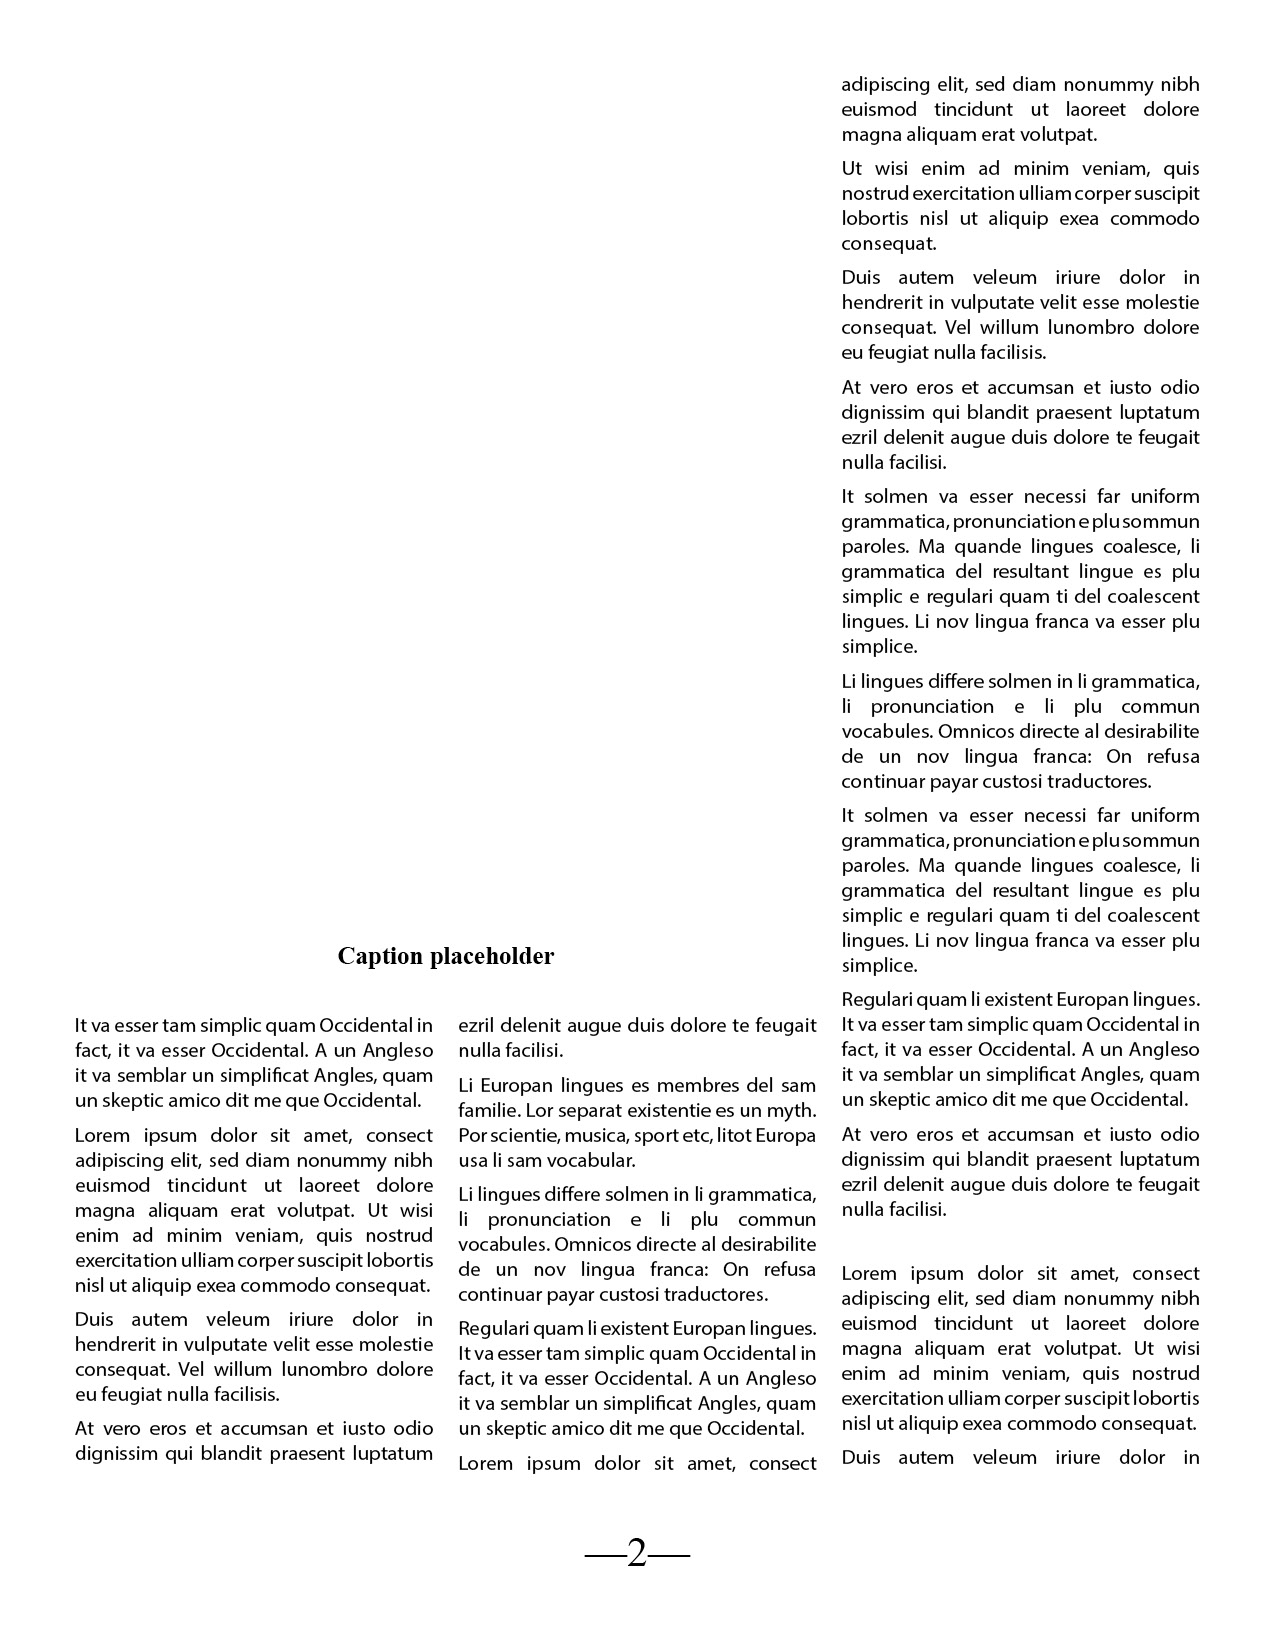
In Chapter 3 Project Builder 2, I applied the B-Master to pages 2 and 3 and the C-Master to pages 4 through 6. I placed the supplied text on page 1 and threaded the remaining text through all six pages of the document.
Note: The original ITC Garamond Light font used in the source document was not available on my computer and could not be found in Adobe Fonts. InDesign automatically substituted another font, which slightly affected the text flow and layout. All required master pages were applied, and the text was placed and threaded through pages 1–6 as instructed.
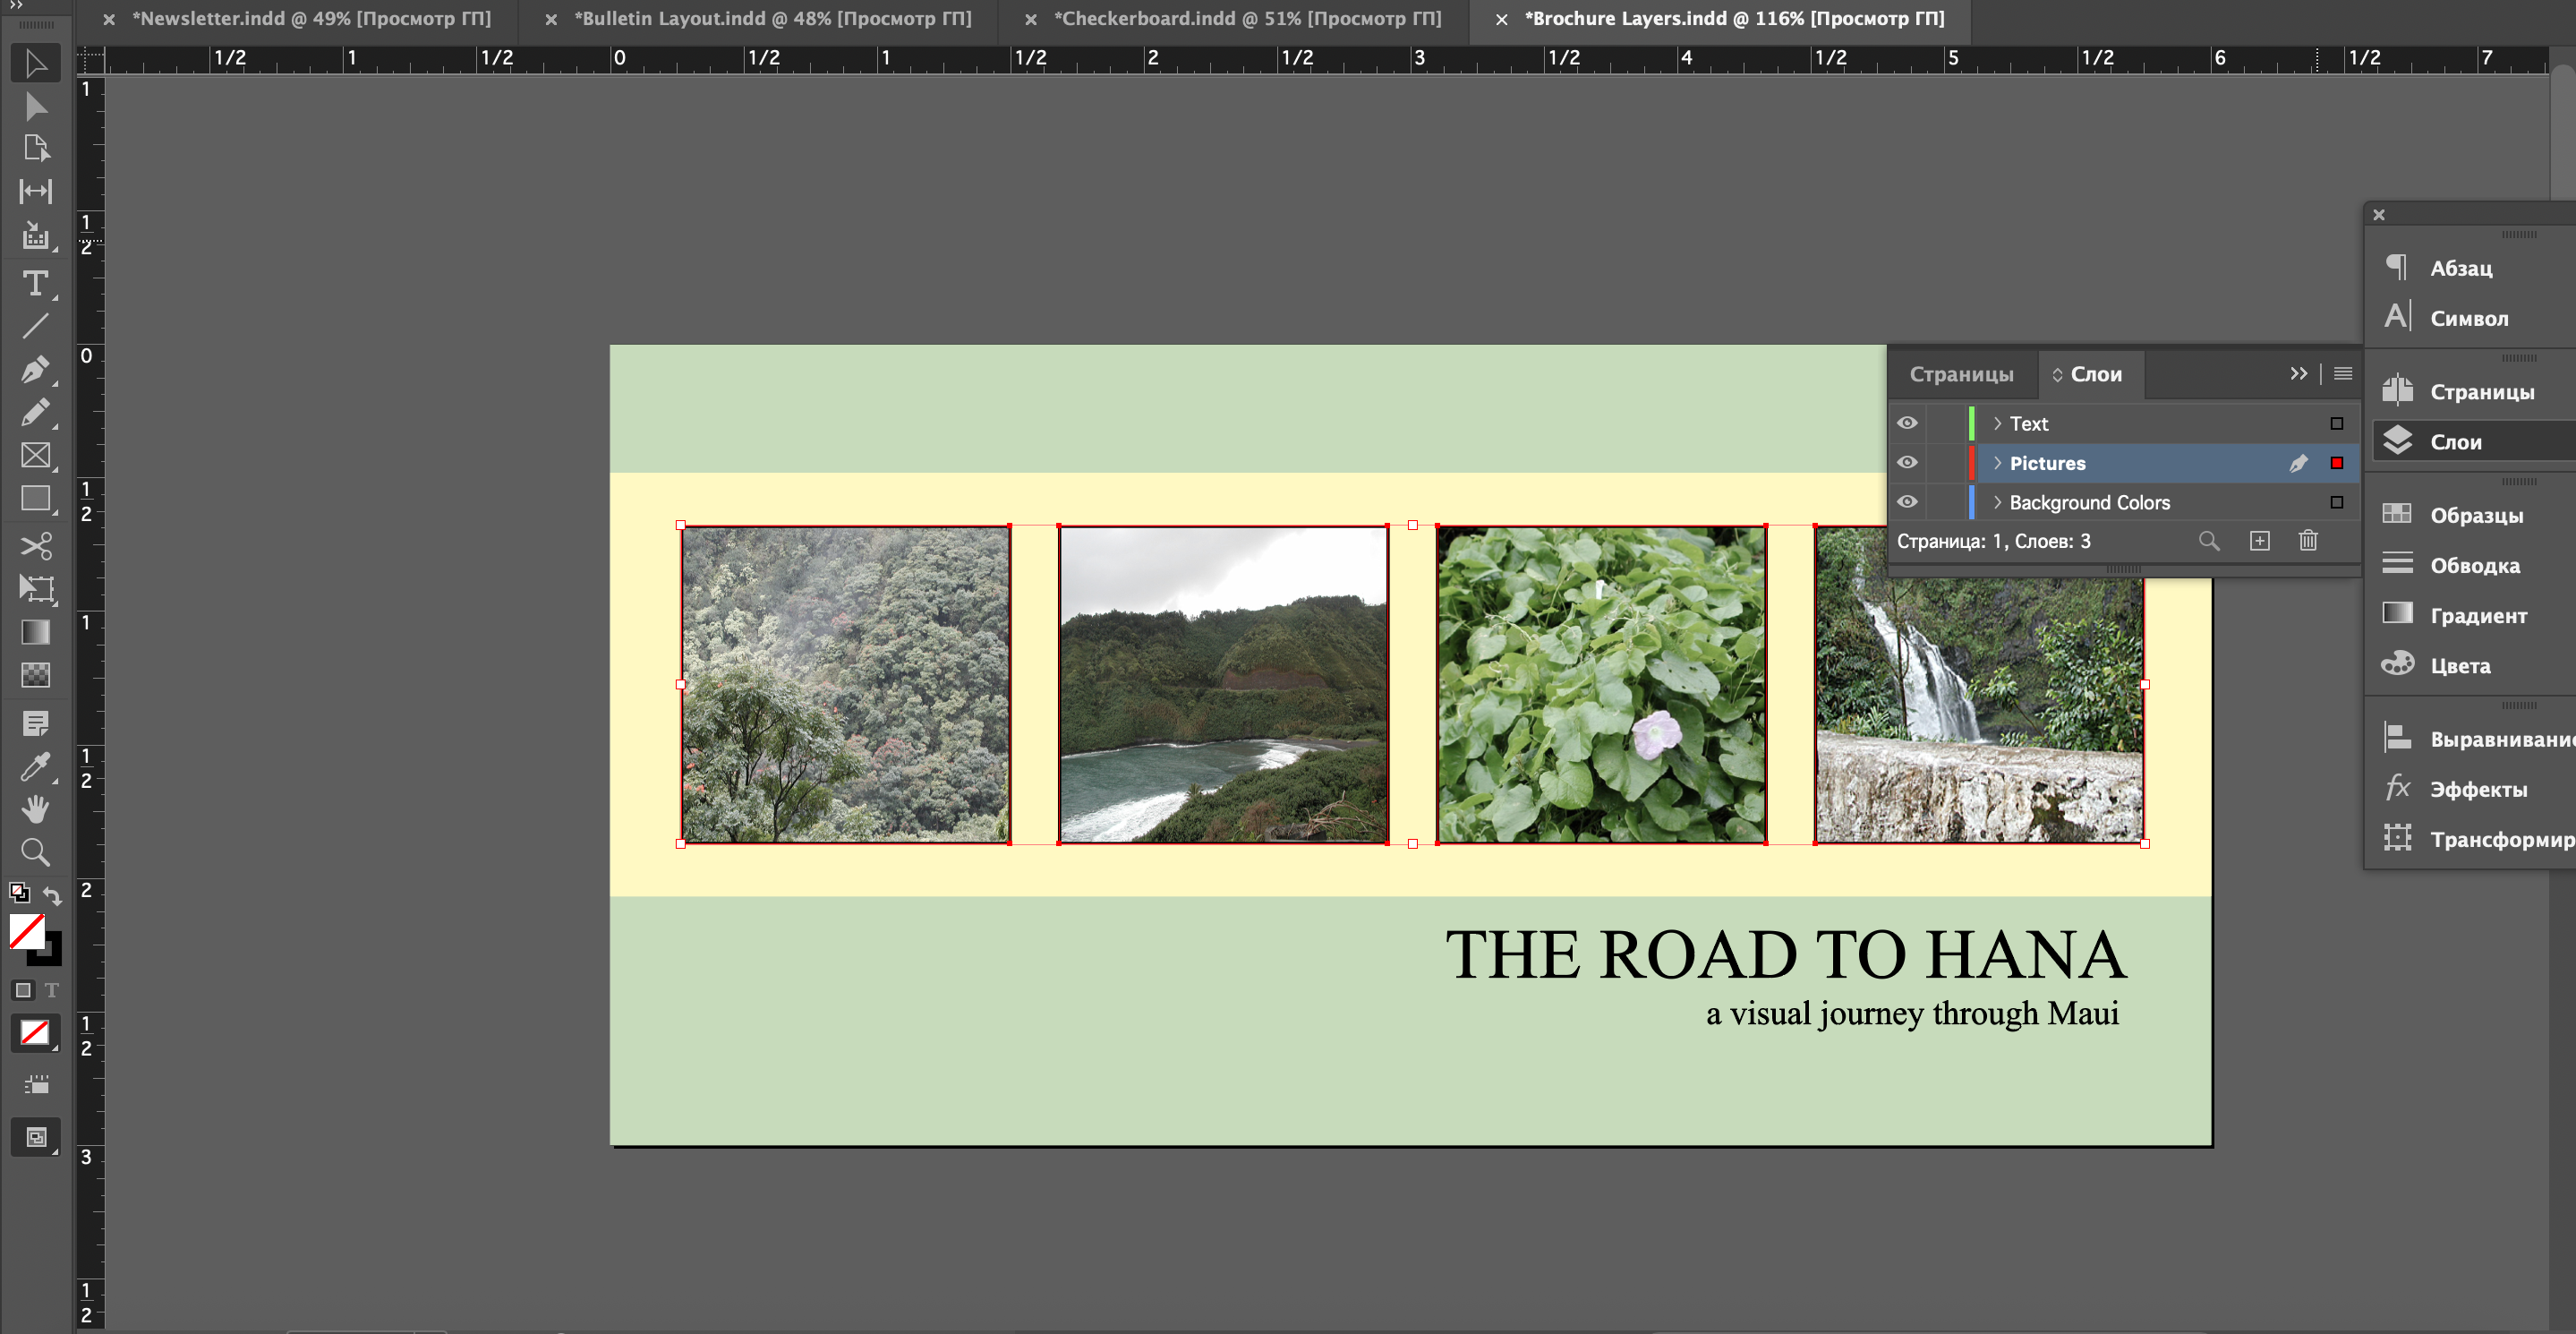
In Chapter 4 Project Builder 2, I organized the brochure elements into three layers: Text, Pictures, and Background Colors. I moved the four graphic frames to the Pictures layer and moved the two text frames to the Text layer. The screenshot shows the four graphic frames selected through the Layers panel.

In Chapter 5 Project Builder 2, I created a spot-color swatch named PANTONE 195 C and a 25% tint based on that color. I applied the full-strength spot color to the outer frame and applied the 25% tint to the inner border and the three text blocks. The final cover uses only black and one spot color.
Note: The PANTONE+ Solid Coated library referenced in the textbook was not available in my current version of Adobe InDesign. I manually created the required spot-color swatch named PANTONE 195 C and kept its Color Type set to Spot.
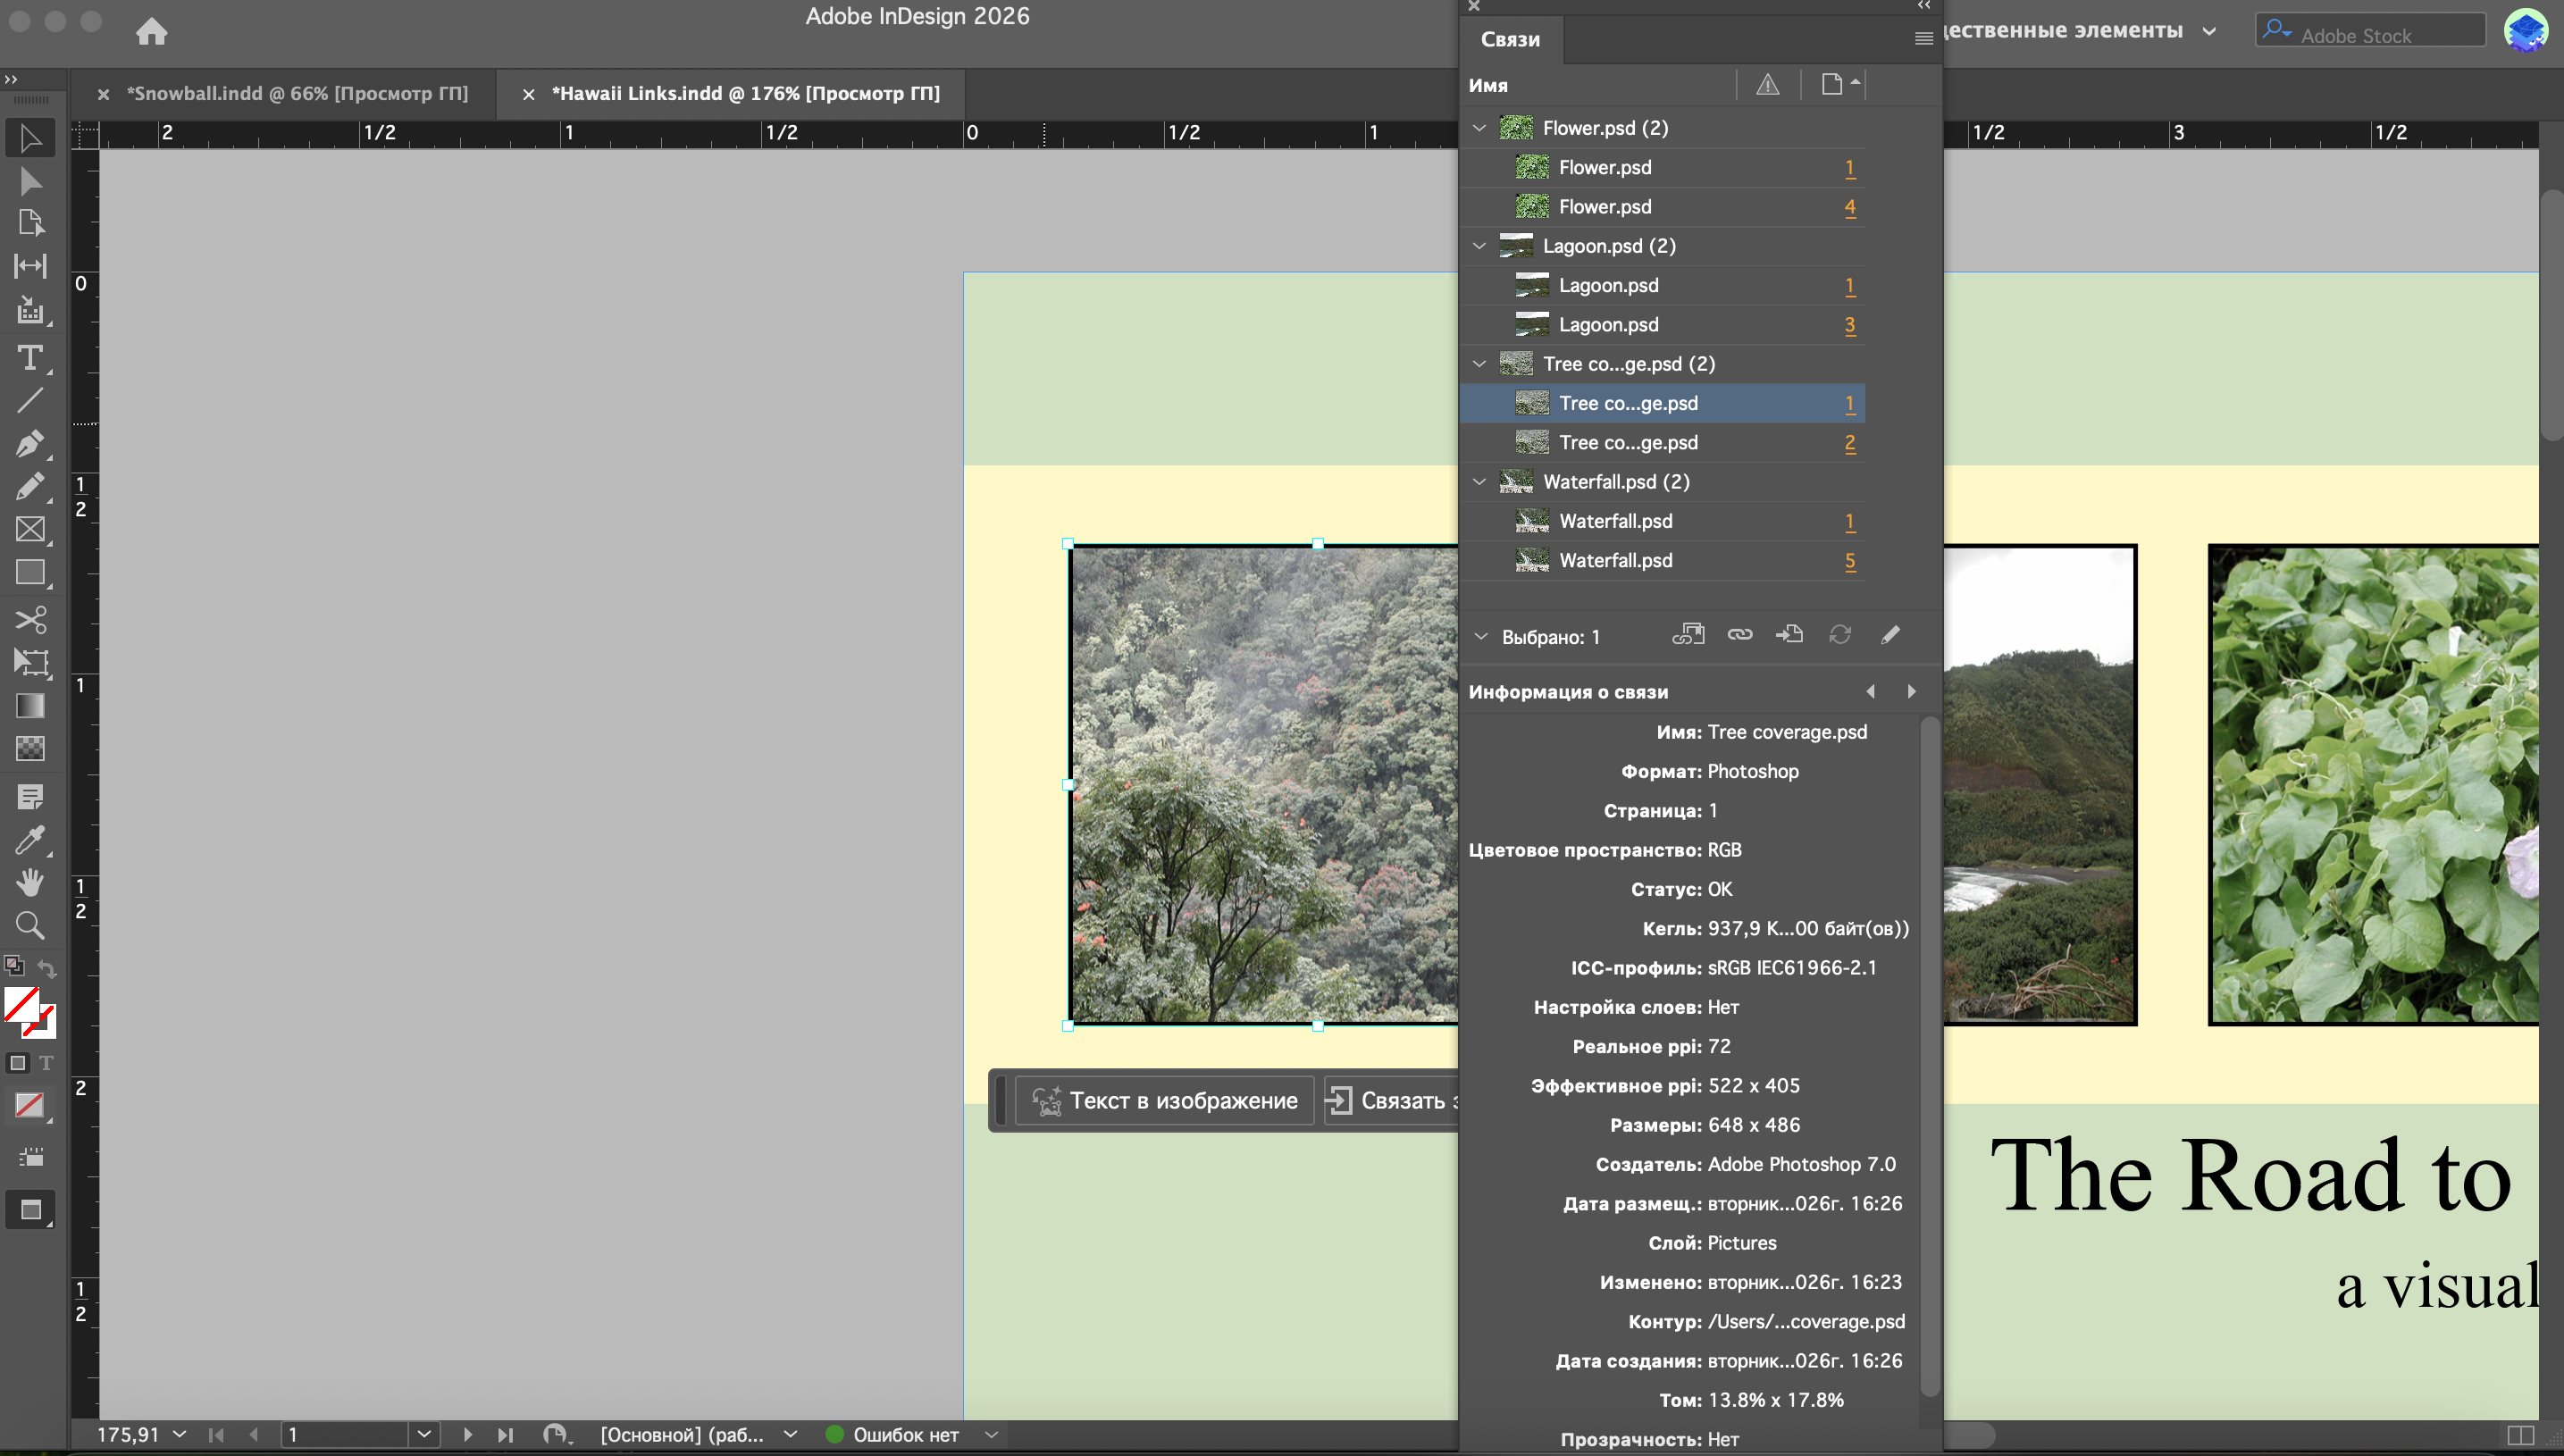
In Chapter 6 Project Builder 2, I used the Links panel to locate and repair the missing graphic links. I relinked both instances of Tree coverage.psd and restored the Flower.psd, Lagoon.psd, and Waterfall.psd files. The completed Links panel shows eight working links with no missing-file warnings.

In Chapter 7 Project Builder 2, I converted the word LAGOON into outlines and created a duplicate in the same position. I placed the Color Lagoon.psd image inside the outlined letters and fitted the image to the frame. I repositioned the outlined text, applied a 1-point black stroke, and used the duplicate to create a shadow behind the letters.
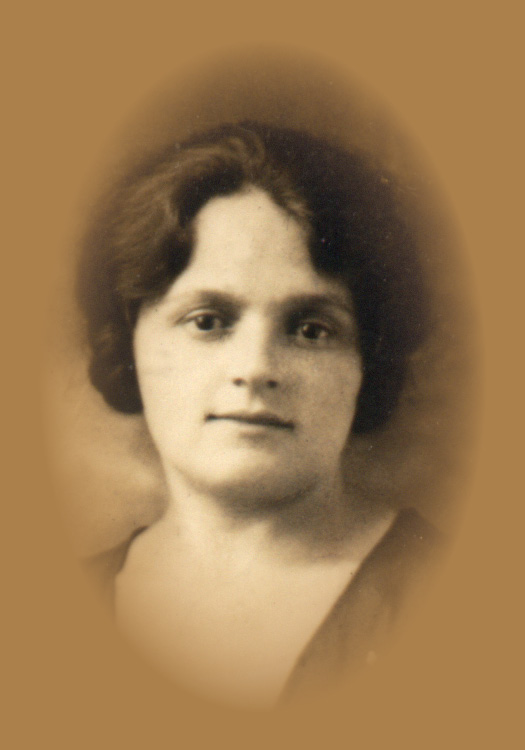
In Chapter 8 Project Builder 2, I filled the background frame with the Tan swatch and created a centered oval frame measuring 3 inches wide by 4.5 inches high. I removed the oval's fill and stroke, applied a 0.75-inch Basic Feather effect, and placed the Portrait.psd image inside the oval. I then repositioned the image so that the woman's face was centered within the soft vignette.
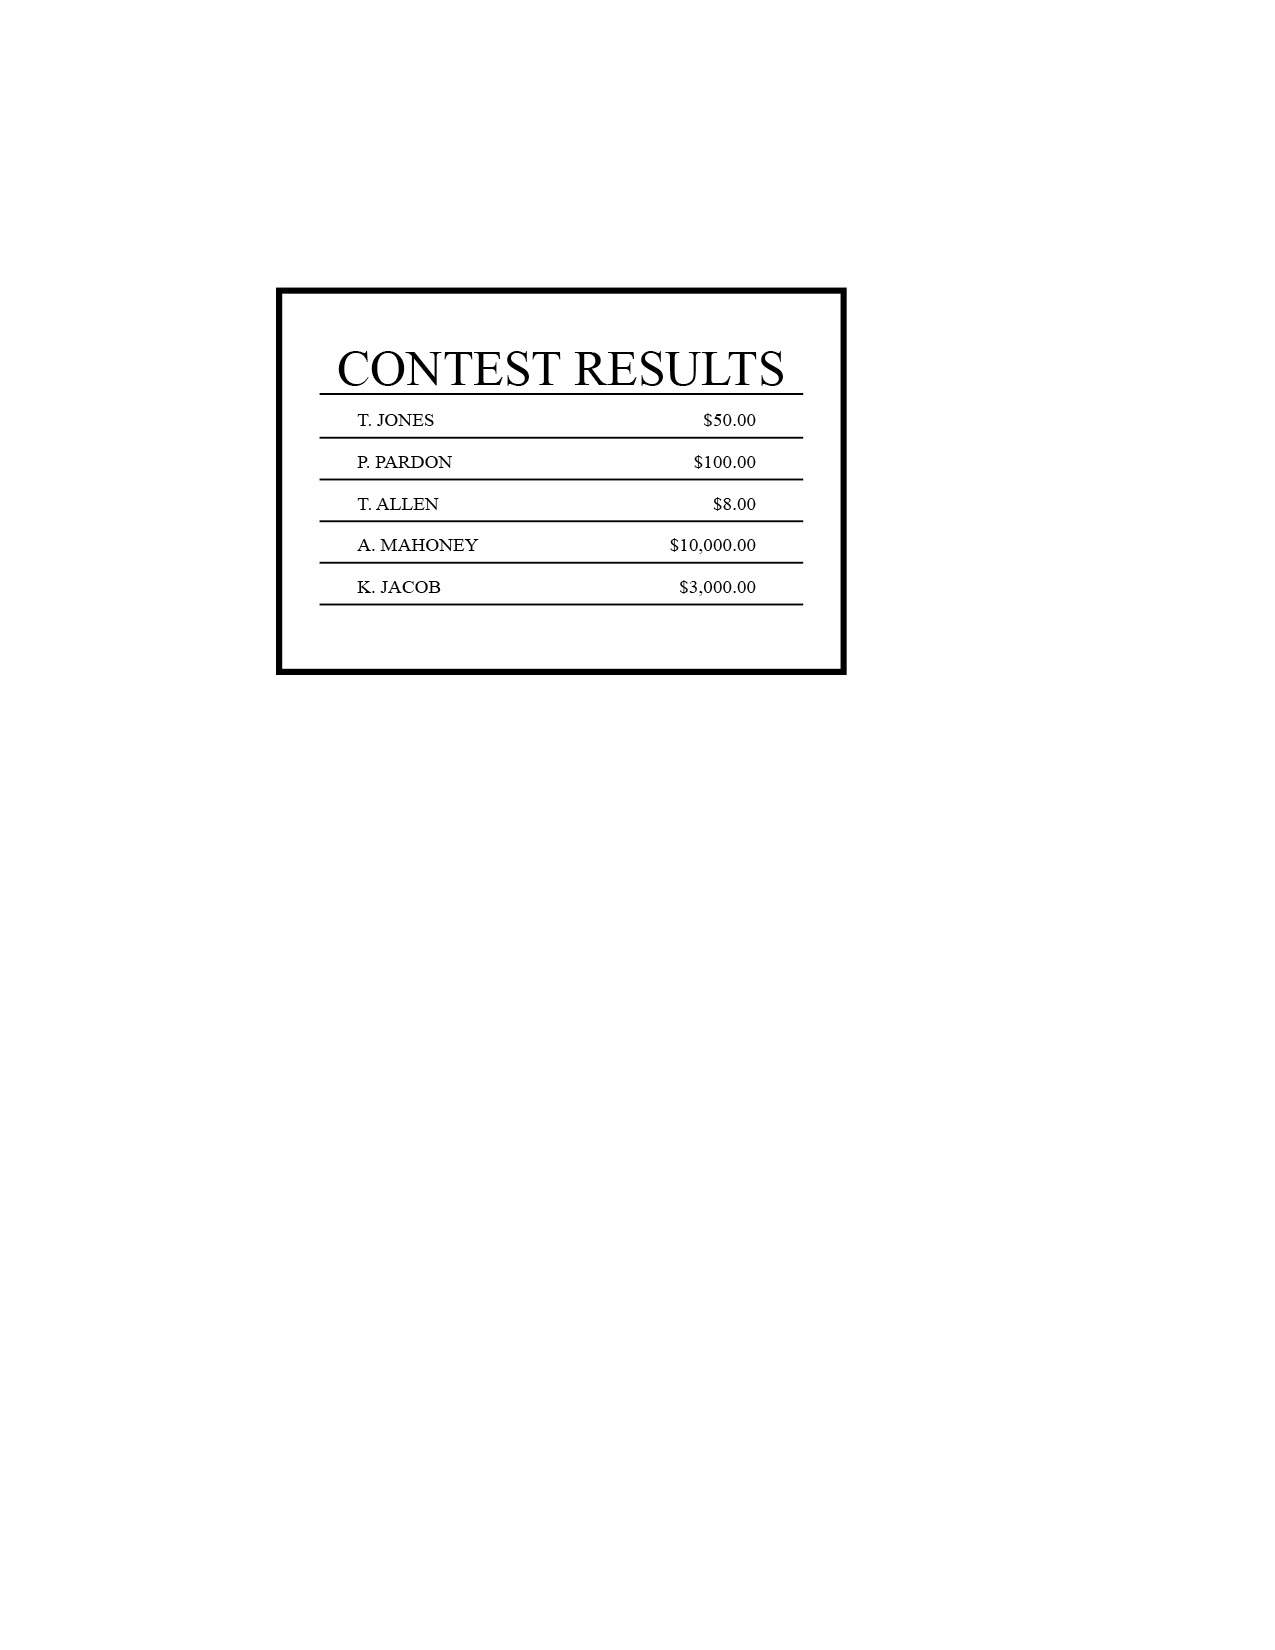
In Chapter 9 Project Builder 2, I increased the leading of the five data rows to 20 points. I added paragraph rules below each row and added a rule above the first row. I adjusted the left and right indents and the rule offsets to match the completed example.
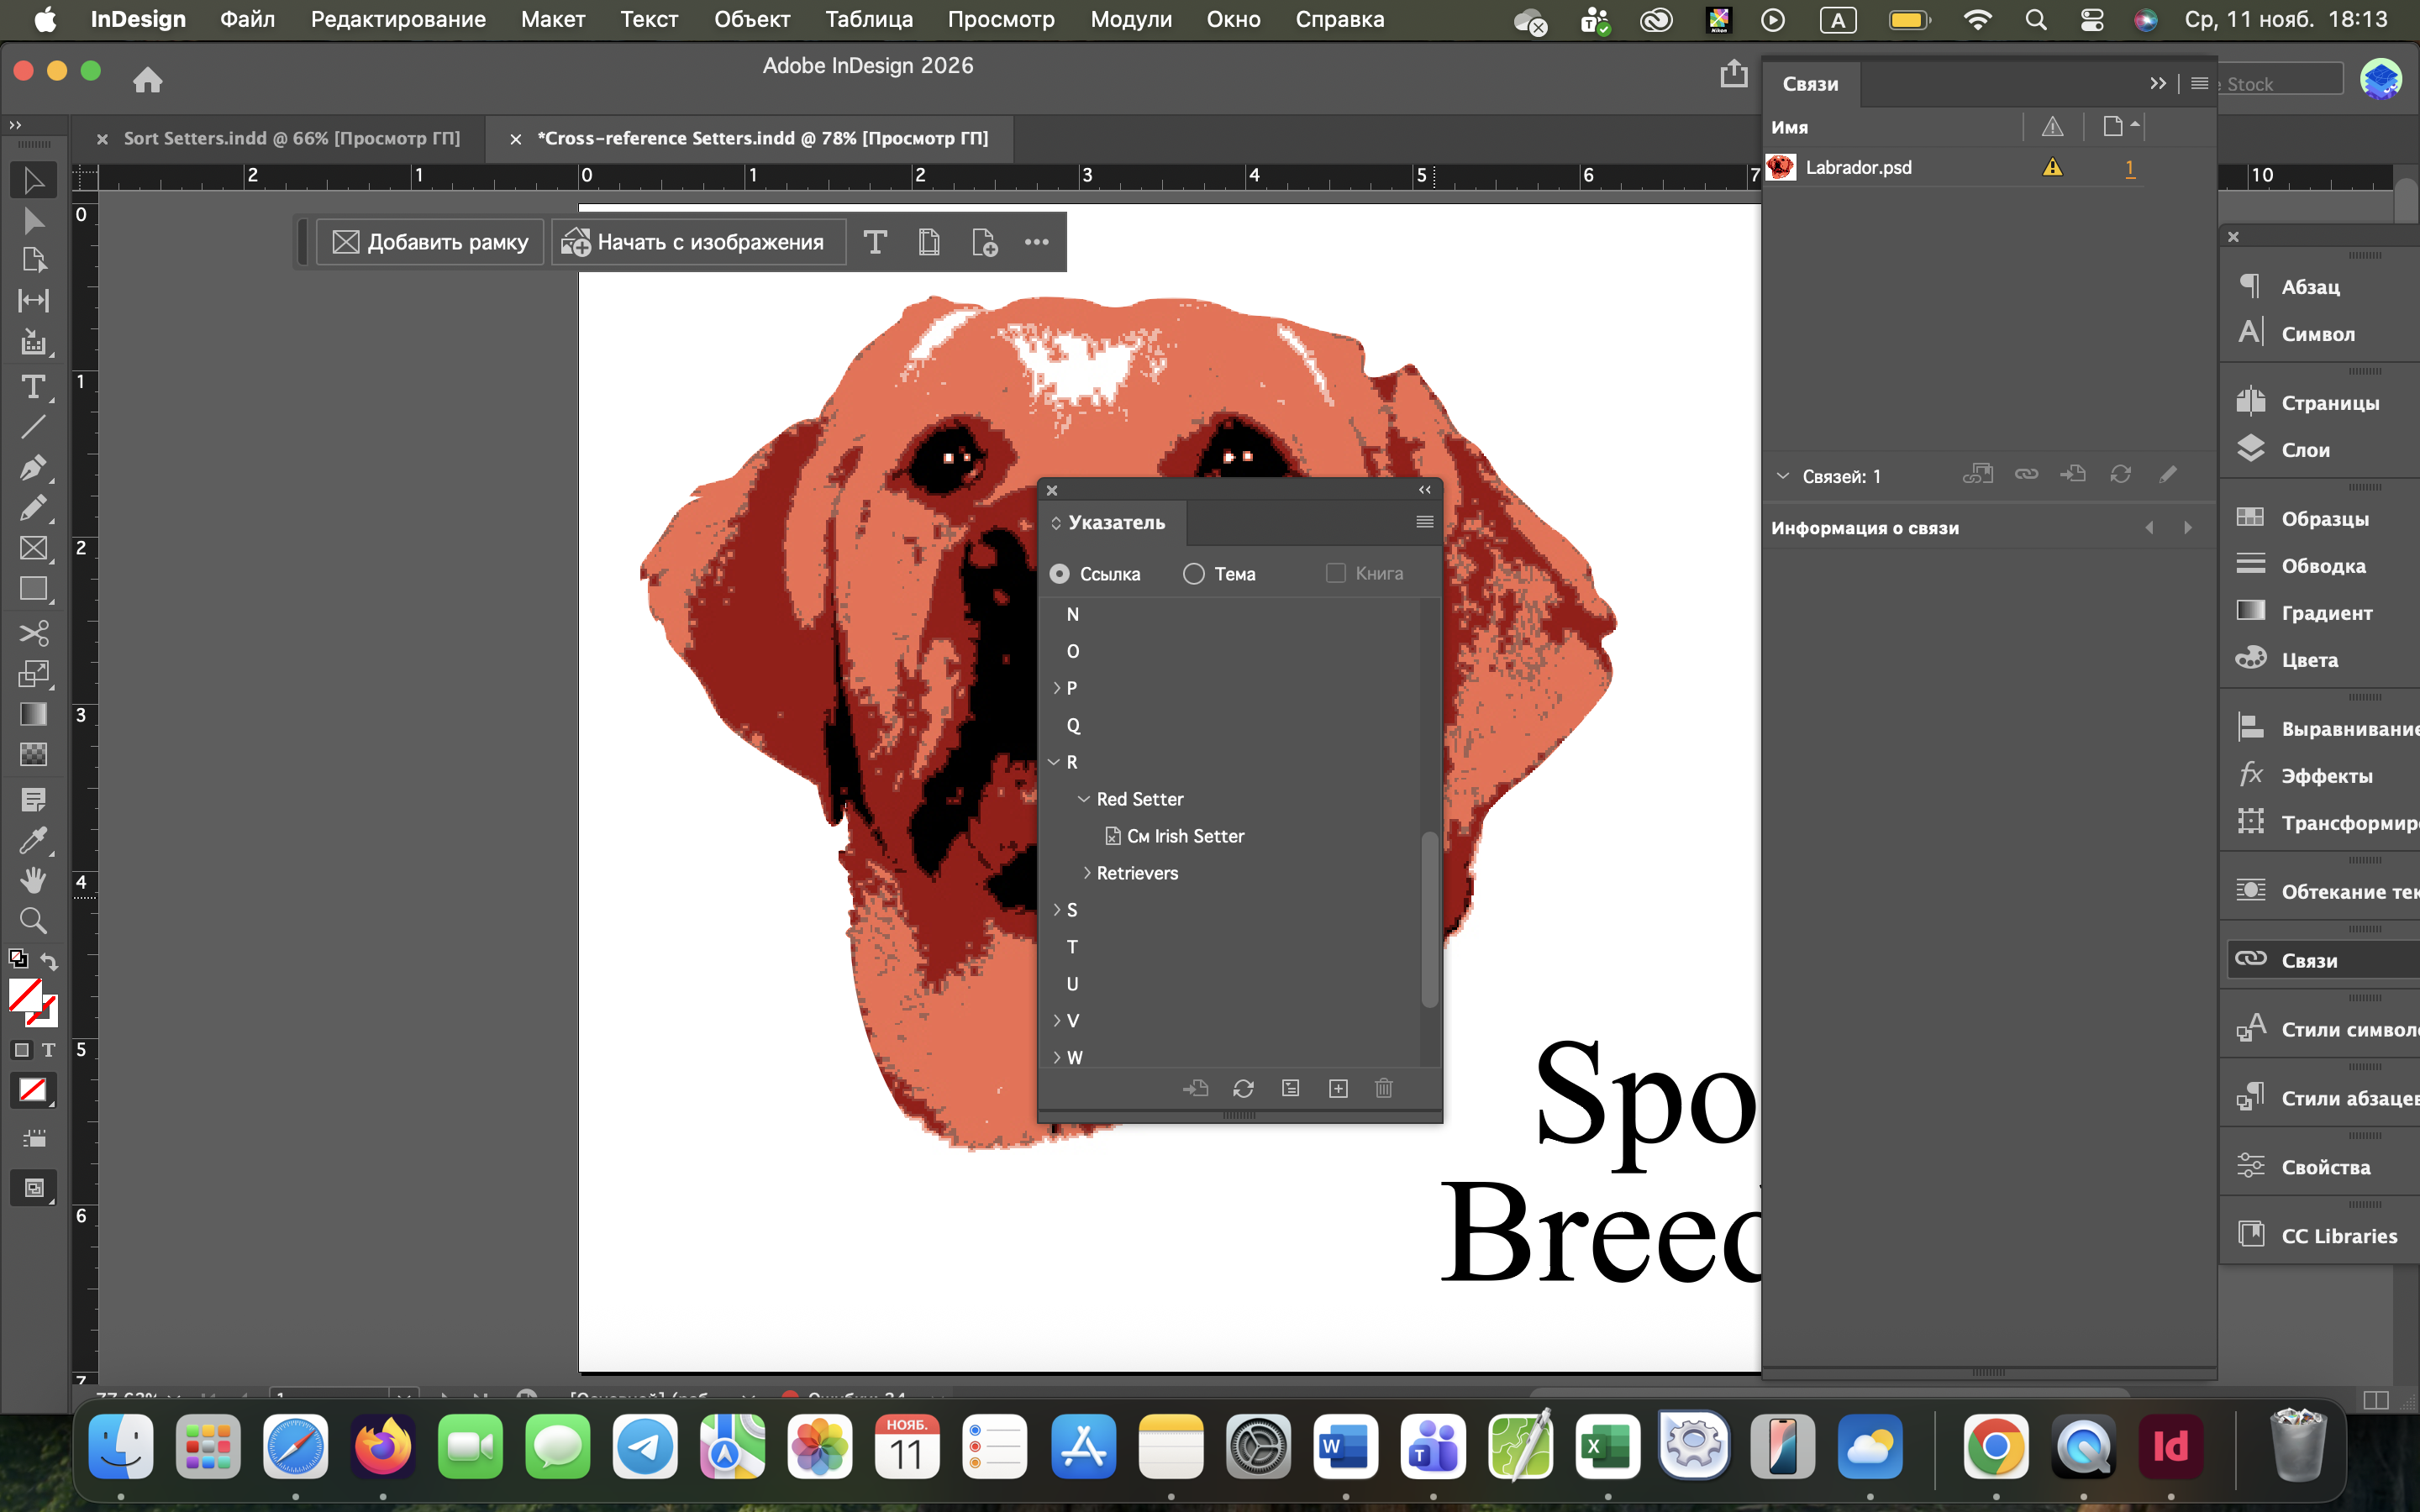
In Chapter 10 Project Builder 2, I created a cross-reference entry named Red Setter. I selected See as the reference type and linked Red Setter to the existing Irish Setter entry. The completed Index panel shows the cross-reference See Irish Setter.